
How to Replace a seat in a Head


Thread Starter
|
Member
Joined: Dec 2009
Posts: 52
Likes: 0
From: Pensacola Fla
How to replace a seat in an Aluminum Head
The head being worked on is a 2002 Ford Focus 2.0l SOHC

Most aluminum heads like to tear and not cut with a smooth finish. I few squirts of oil will help the cutting, along with a faster cutter speed.
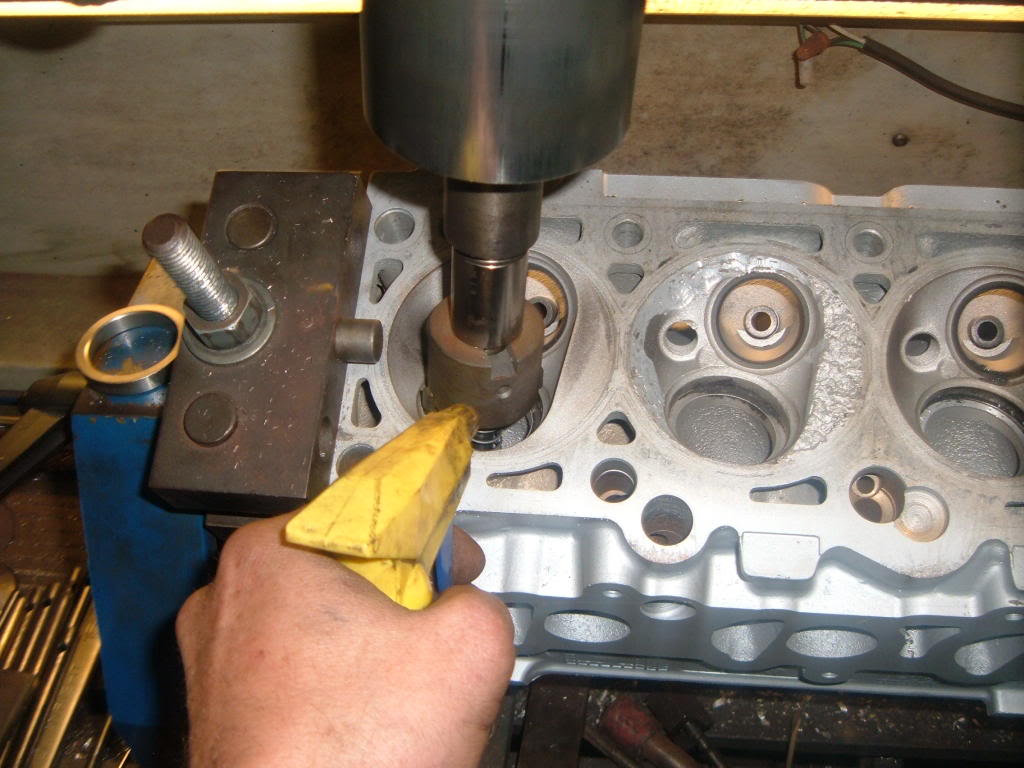
How the new counter bore looks after machining

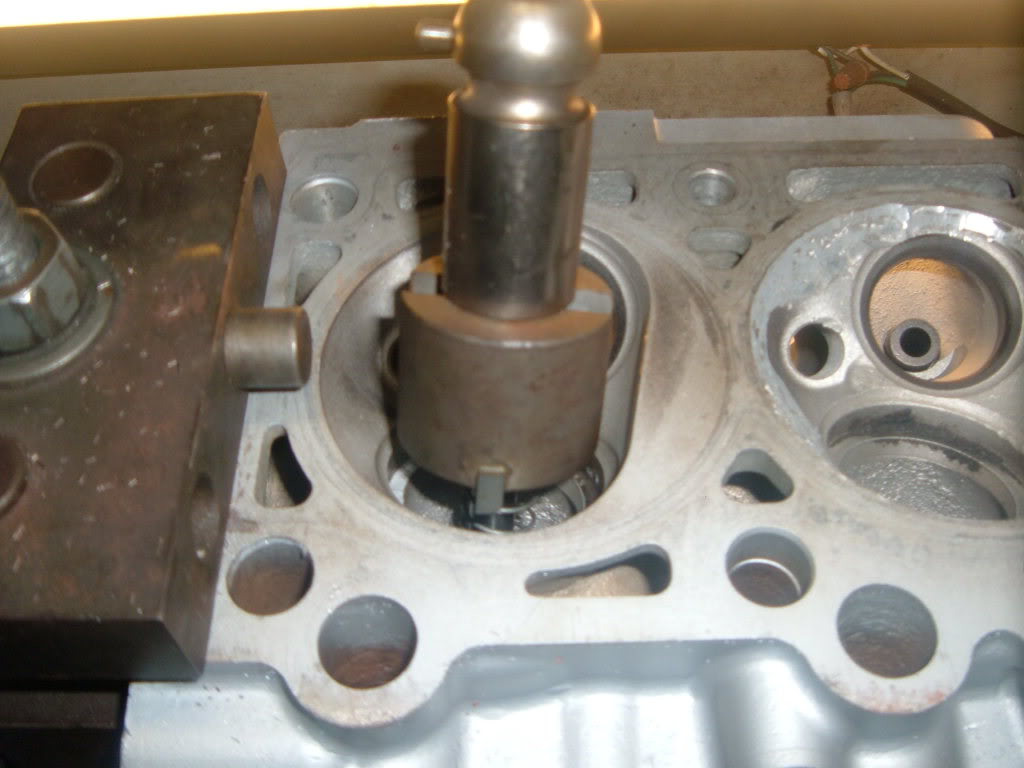
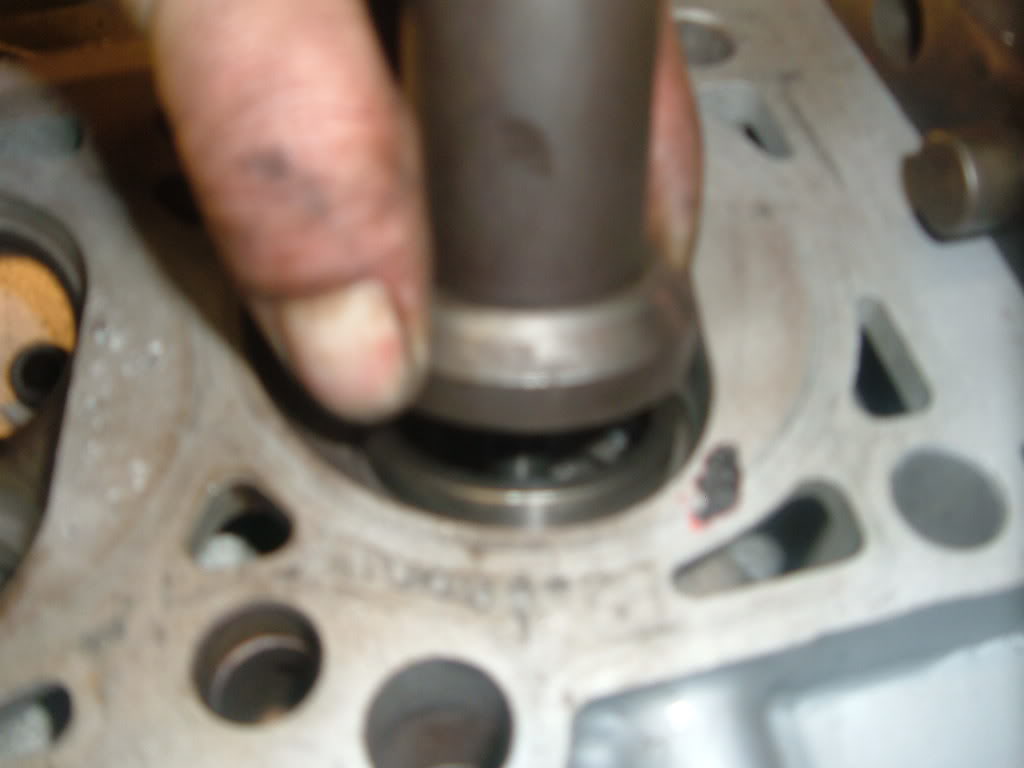
Next is to knock in the seat inserts. Use the proper sized driver and a large hammer.
After all the seats are knocked in, the head must be re-leveled before any more machine work can be done.
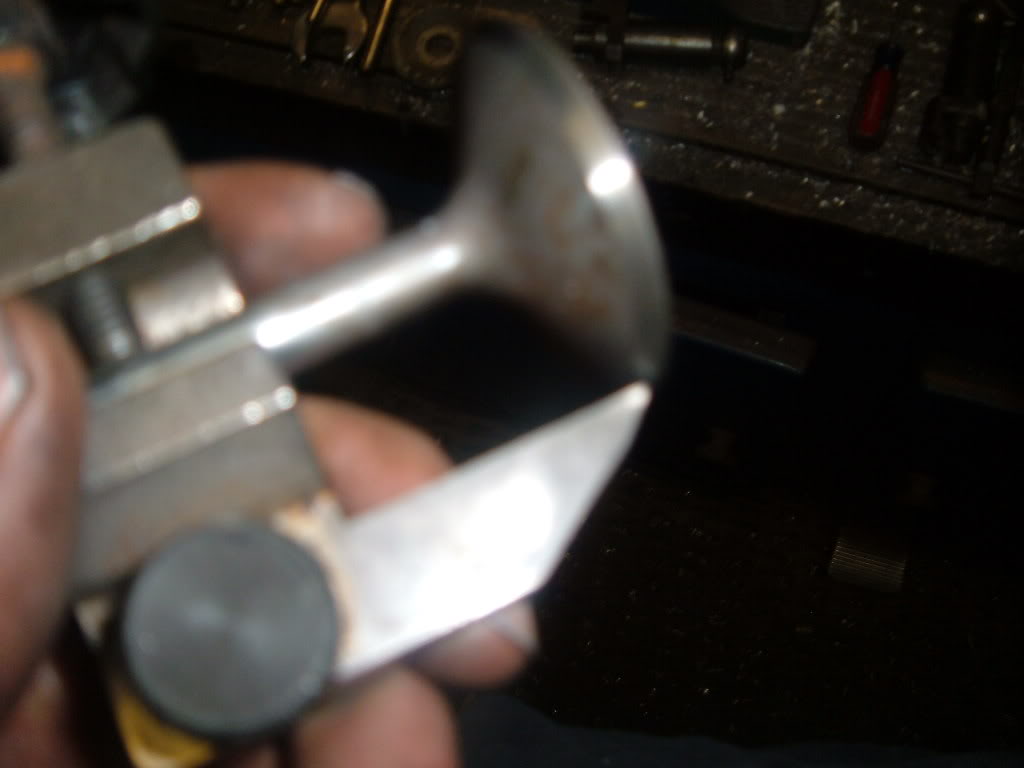
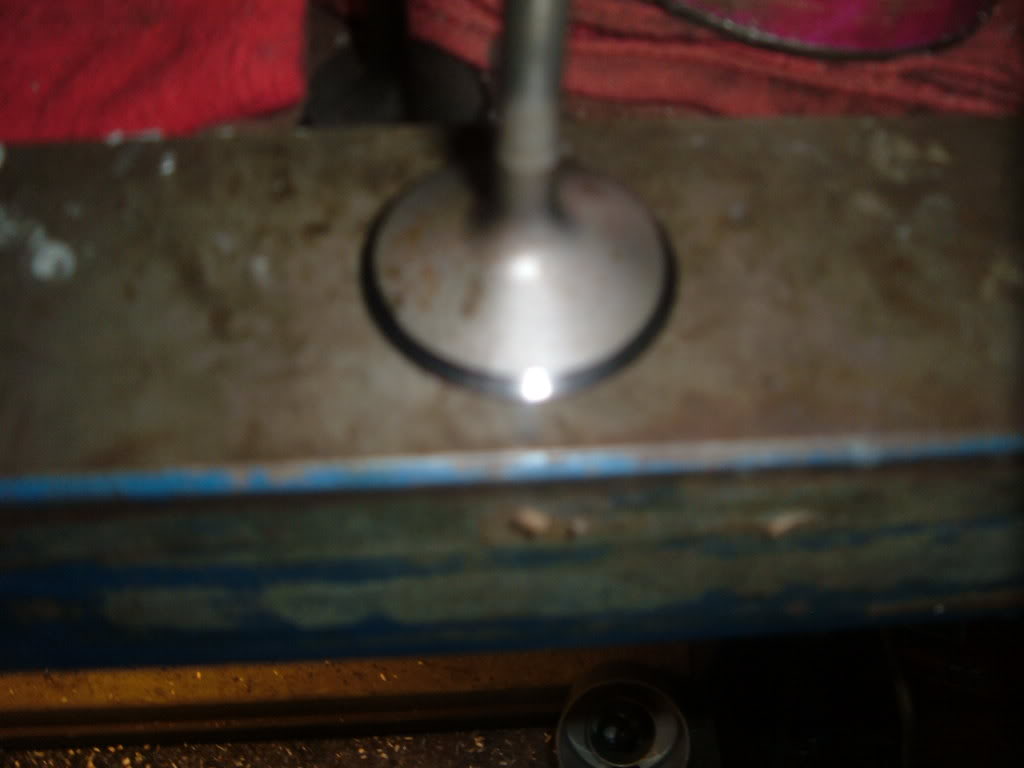
Next is to set seat placement on the valve.
Where the point touches, is where the top of the valve to seat contact area will be on the valve face.
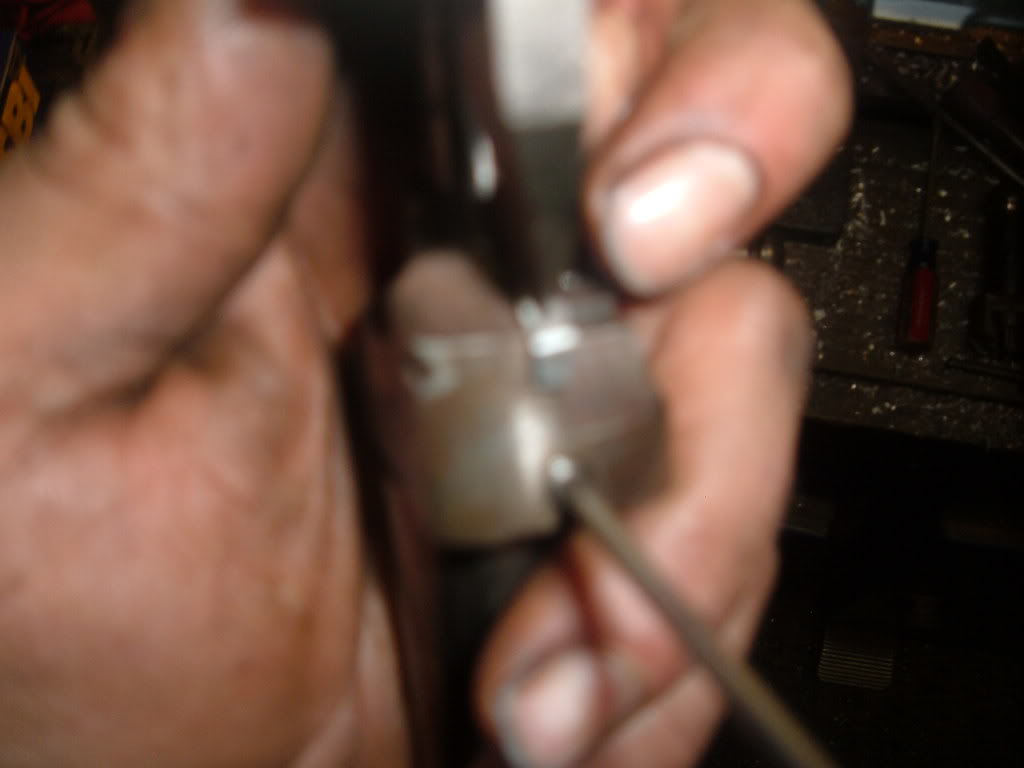
Now with that locked down, put the guide pilot in the setting fixture and then slide the cutter over it. Now the bit holder gets moved in or out as needed to achieve where contact will be made.
A test cut is made on the new seat, and contact area is checked by dying the valve face and spinning the valve on the seat. Placement was great here, center of the valve face.
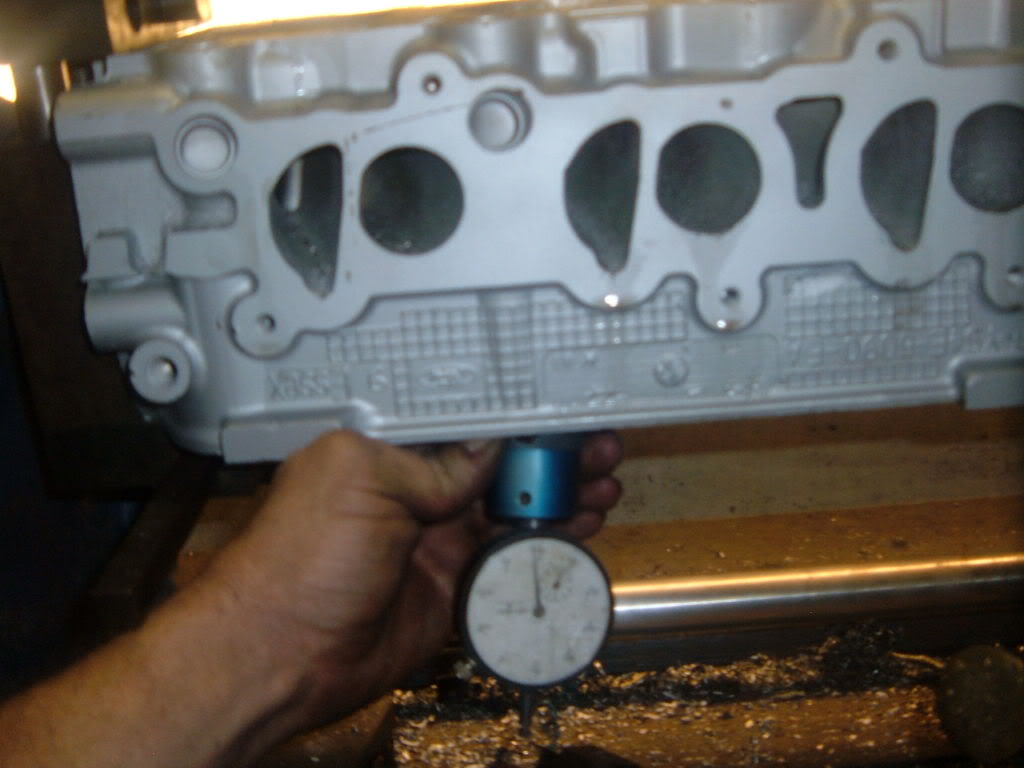
Now seat placement has been set, I have to set the seat depth so proper valve tip height is achieved.
now all that is set, the rest of the valve job will be completed, cut the exhaust seats. Valves will be loaded into the casting, new seals installed, spring pressures checked, springs, retainers, and valve locks installed, a vacuum check for seal of seat and valve. Now it will be ready to be bolted back on.
The head being worked on is a 2002 Ford Focus 2.0l SOHC
This style of head, the �split port� Intake
I have seen this as a common problem.
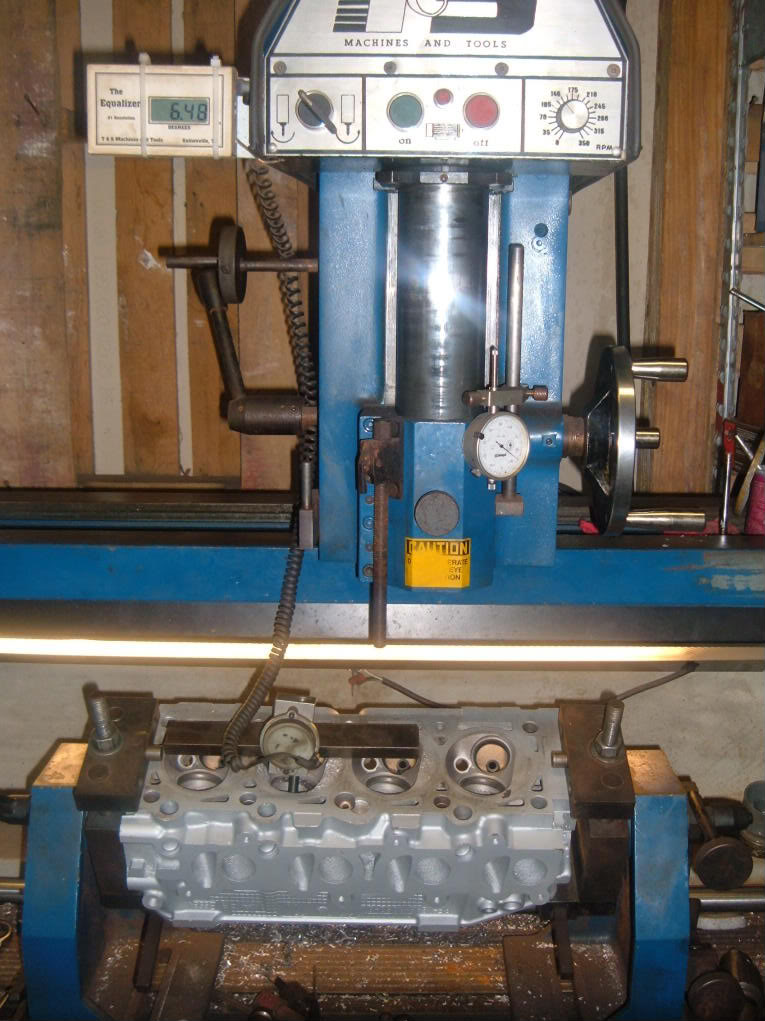
The first step is to mount and level the head into the head shop.
(I am using a TnS 2000 Head Shop)
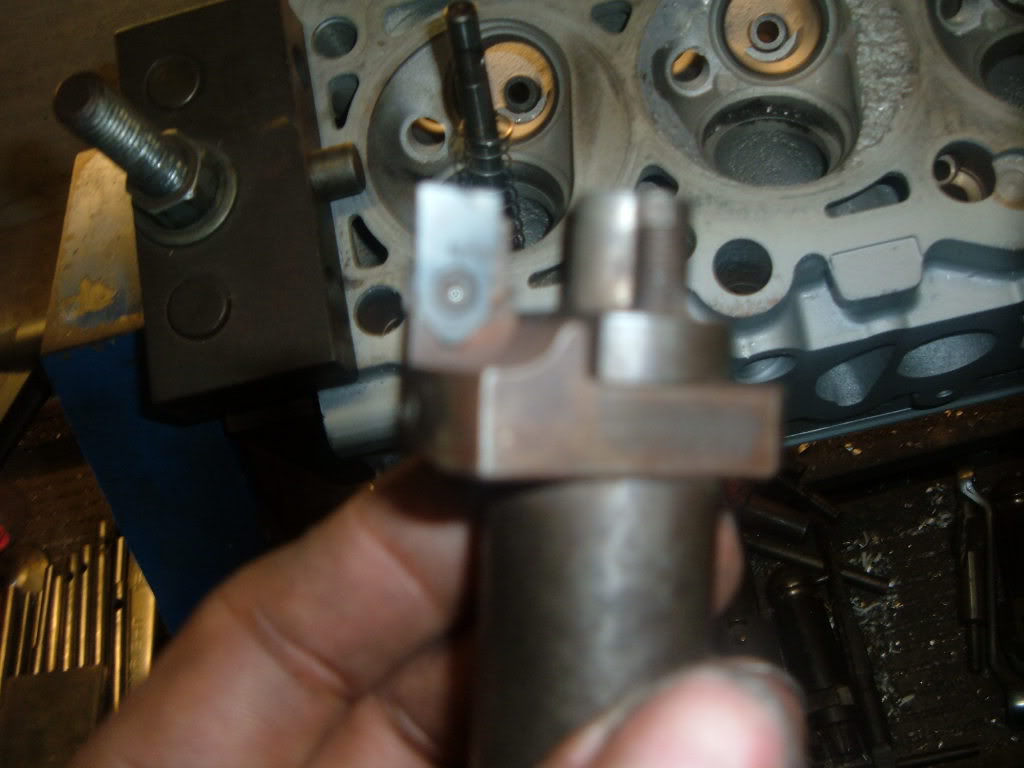
The next step is setting 90* carbide cutter to a smaller diameter than the original seat counter bore. Appox. .006-.012 smaller
Here you can see where the intake seat fell out of #3 Clyinder and �pebblized� and beat up in the quench areas of the combustion chamber.
A quick touch up with a die grinder to smooth and remove the burs. All the damage was inside the fire ring, So head gasket sealing will not be an issue.
Now we cut out the remaining intake seats, I am a firm believer, if one has fallen out, the chance is too great for one of the other three to fall out. The cost is also reasonable.
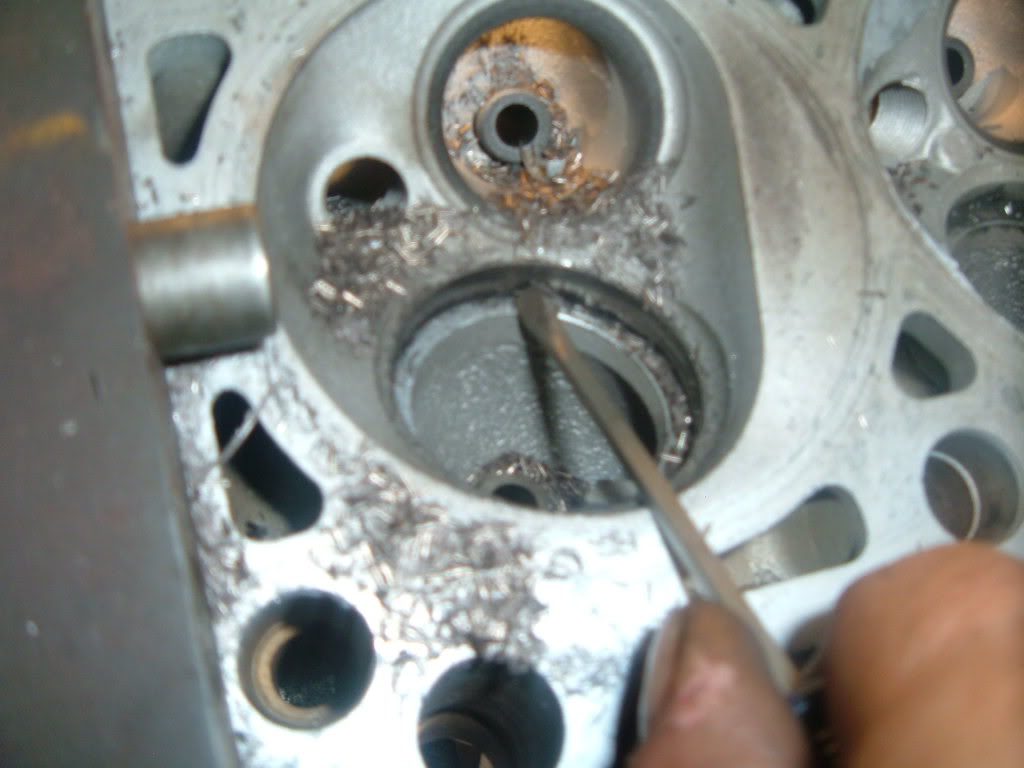
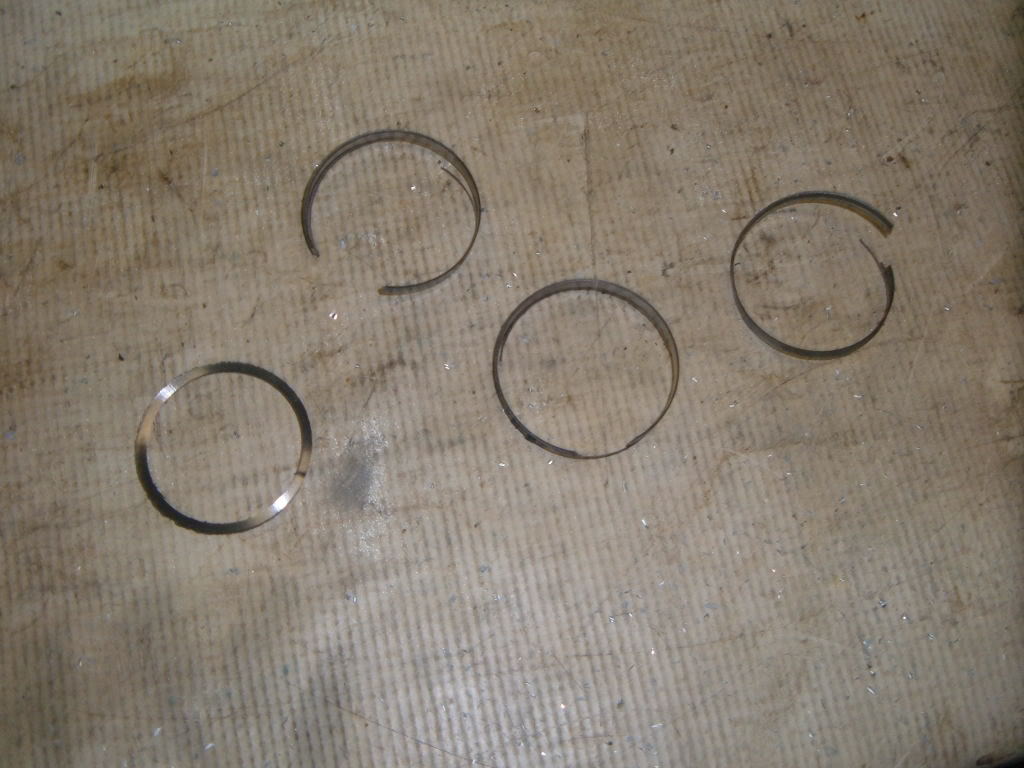
Now once the seat has be shelled out, take a small flat blade screwdriver and pry and/or chip the shell of the remaining seat out.
This is will be about what is left.
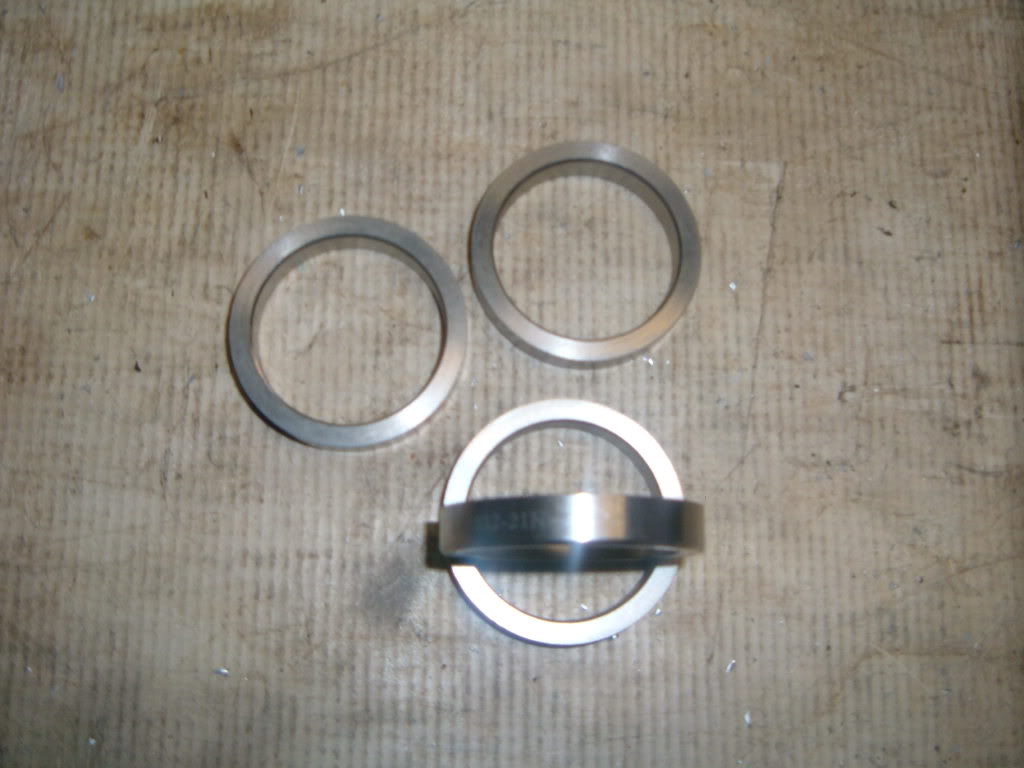
These are the new seats, they are larger OD and smaller ID and have a greater depth then the OE seats.
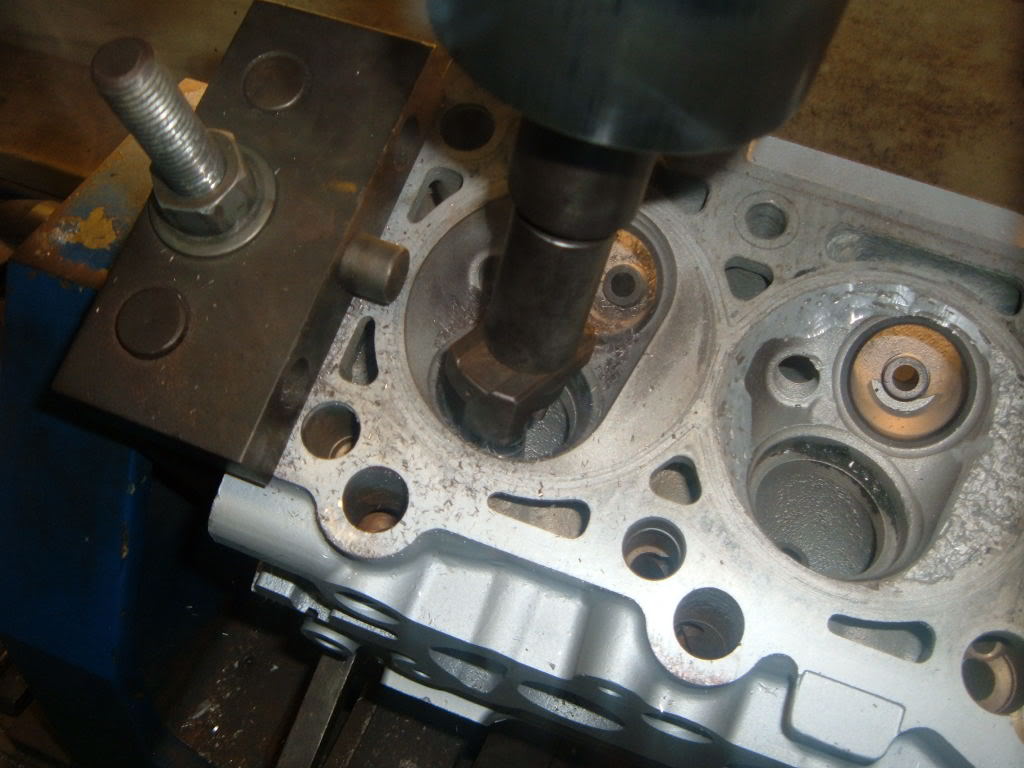
To fit the new seats in the head, I have to cut new counter bores. This will insure a round counter bore and the proper press fit. Between .005-.007
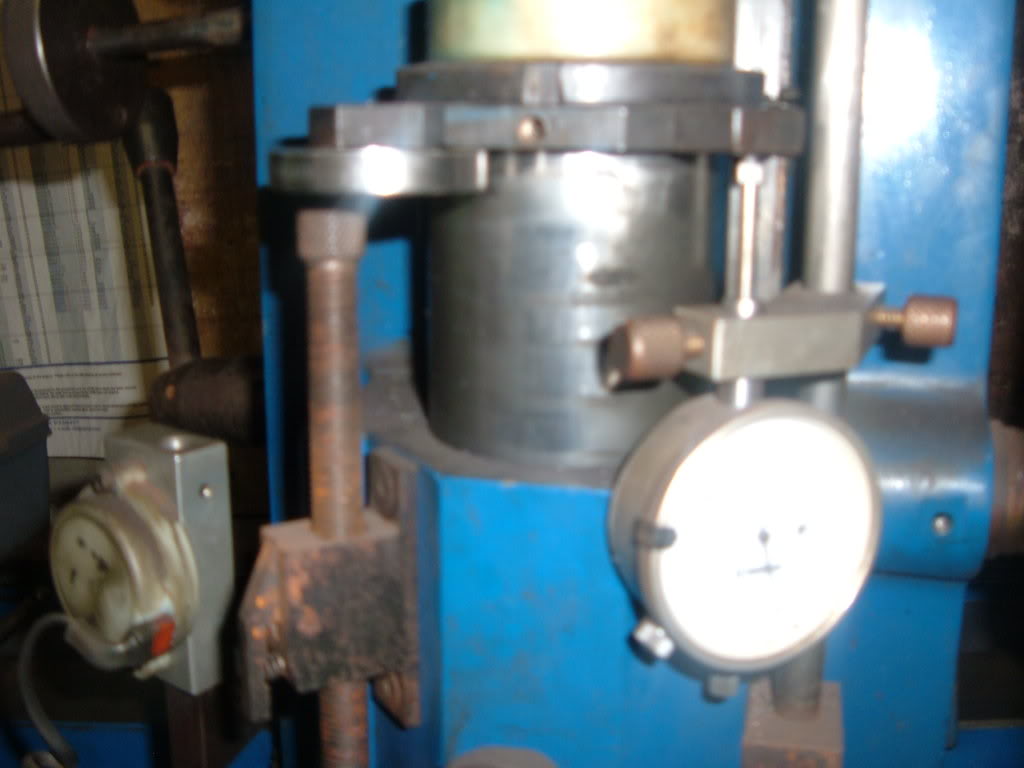
Here the seat depth is set, I like to have a minimum depth of .220, and these seats will go in to appox. .260-.270.
The hard stop will make sure I will not exceed the maximum depth of .300
Most aluminum heads like to tear and not cut with a smooth finish. I few squirts of oil will help the cutting, along with a faster cutter speed.
How the new counter bore looks after machining
Next is to knock in the seat inserts. Use the proper sized driver and a large hammer.
After all the seats are knocked in, the head must be re-leveled before any more machine work can be done.
Next is to set seat placement on the valve.
Where the point touches, is where the top of the valve to seat contact area will be on the valve face.
Now with that locked down, put the guide pilot in the setting fixture and then slide the cutter over it. Now the bit holder gets moved in or out as needed to achieve where contact will be made.
A test cut is made on the new seat, and contact area is checked by dying the valve face and spinning the valve on the seat. Placement was great here, center of the valve face.
Now seat placement has been set, I have to set the seat depth so proper valve tip height is achieved.
now all that is set, the rest of the valve job will be completed, cut the exhaust seats. Valves will be loaded into the casting, new seals installed, spring pressures checked, springs, retainers, and valve locks installed, a vacuum check for seal of seat and valve. Now it will be ready to be bolted back on.

Thread
Thread Starter
Forum
Replies
Last Post
ozmazda1993
Mazda 323,Mazda 626 & Mazda 929
11
Jul 15, 2024 12:27 PM
BogusSVO
General Tech
3
Feb 1, 2013 11:37 AM
mxteam
Mazda Protege
5
Oct 24, 2007 06:52 AM