When you click on links to various merchants on this site and make a purchase, this can result in this site earning a commission. Affiliate programs and affiliations include, but are not limited to, the eBay Partner Network.
Impact wrench broke the bolt loose.... well tight. I drove it in somewhat so I could access the threads at the end of the bolt. No I didn’t fully tighten it in with the impact wrench, I just got it free. Spent several minutes brushing the end threads with a wire brush, squirting in penetrating oil, and working the bolt back and forth. About 10 minutes of that and it threaded right out. I probably could have gone ahead and used the impact to get it all the way out, but I figured if the threads were borked I’d rather do it slow and steady and keep from stripping out the trailing arm. Anyway it’s out now, and I’m making some phone calls to try and find a replacement for it. I assume it’s a relatively generalized part.... I mean it’s a bolt.
Hopefully will have this done as soon as I get a new bolt and do some driving to test it out.
Job is done, wheels are on, and I’ve done my test drive. So far I can say I’m absolutely satisfied. I did a quick drive around the block without issues, then loaded in the kids and went for a longer drive which included bumps and twisty roads. Initial impression coming out of the driveway (which I did harder than normal intentionally) was it was rock solid without being uncomfortable. Going around the first 90 degree turn in my neighborhood it was immediately evident that all of the slop I noted in my pre-job test drive was gone. Body roll was significantly reduced, and the oversteer feeling was non-existent.
Driving over some moderately large speed humps at speed the rear end compressed, bounced the kids a little in the third row, but it wasn’t uncomfortable or jarring at all. Only noise was from the stuff in the storage tray above the spare tire. Taking it through the twisties did two things. 1) it immediately made evident the struts also need to be replaced.... absolutely mushy by comparison. I don’t blame them, they have 91k miles on them. 2) it gave this car the closest it’s ever had to an ‘on the rails’ type feeling. There was a very minor bit of the oversteer feeling, but I can’t say that wasn’t just the outside front strut compressing too much. It didn’t drive like my old ‘05 3 did, but it wasn’t far off despite being significantly heavier and taller.
So measurements: Measured from lower edge of fender panel across the center of the wheel to the ground.
Before mods: 26.5” Left / 26” Right
On the wheels: 28” Left / 26.5” Right
trip around the block: 27” Left / 26.75” Right
Longer drive: 26.5” Left / 27.25” Right
I assume the initial on the wheels disparity is because the passenger spring/shock had been installed and compressed in place (trailing arm still hanging free) for over a day and a half vs. the driver spring which was just bolted up last night. For the differences as we drove around I assume the shocks will take a little bit to settle fully. There was some general bouncy feeling while just driving around, so either it needs to settle more fully, or the OEM ride style KYB Excel G2 shocks aren’t up to fully dampening the springs. If it persists I may look at swapping in the stiffer KYB gas adjust shocks and see if that evens it out more. If that happens then I’ll just move the Excels over to my sister’s 1st gen 5 along with my 2nd gen springs, so no real loss.
With the caveat that I only have about 20-30 miles on them on one drive I’d currently recommend this set up to anyone else as an improvement.
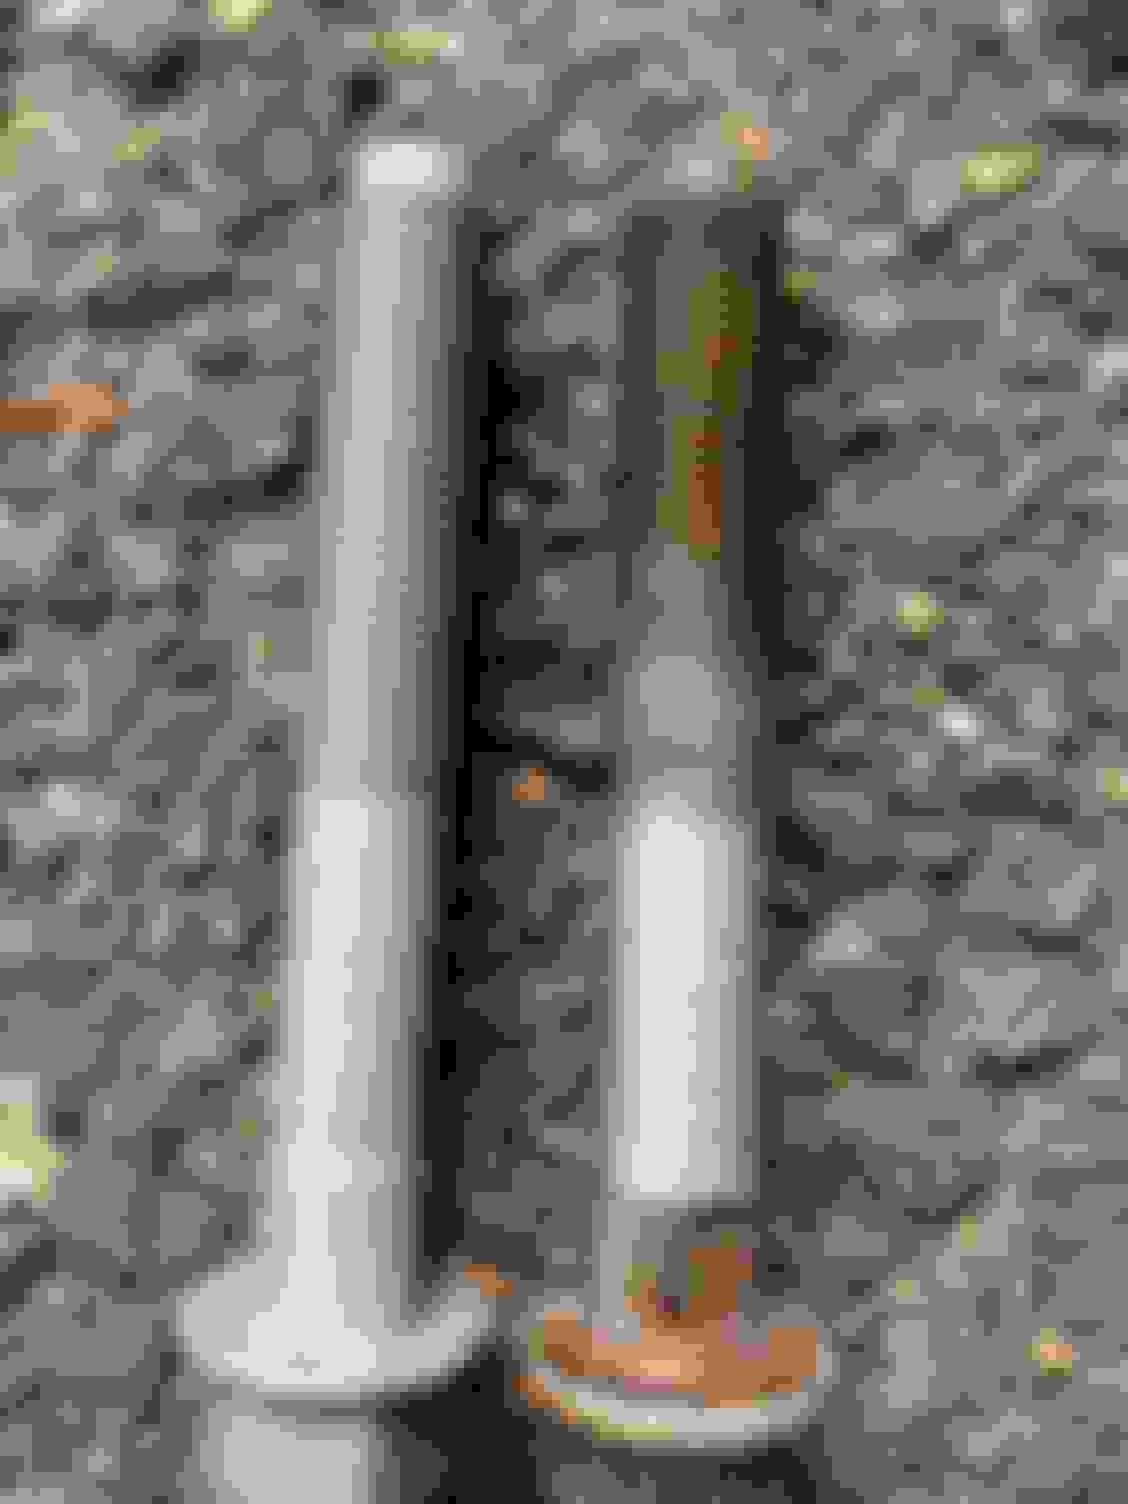
Here’s where that bolt jammed up. When all the way in it has about more than 1/2” of thread showing. The bolt on the right hand side is the exact same and is what’s holding the outside of the control arm to the trailing arm. A similar amount of thread was showing on the shock bolt.
New bolt vs. old bolt. The last two threads on the old bolt took the longest to get through everything.
Here it is in it’s first minute on the wheel again. You can see the left rear is visibly lifted.
It’s been brought to my attention that you shouldn’t use the gas adjust with progressive springs, so I’m sticking with the G2 shocks. Also that springs don’t settle, but rather the shocks need to settle into position. At the end of the day, on the most level part of the driveway, and with the 1 PSI difference between left and right the height measurements were 26.75, and 27. Some variation in the ground may exist, so I’d say I ended up with roughly 0.75” of lift and a much nicer ride.
It was further pointed out that I should try out the front lowering springs as well. I normally pay the shop I like to use to do struts so I don’t have to deal with manually compressing a spring, however now I have an impact wrench, so compressors are only another $30. After that conversation I think the plan is to install those springs whenever I do the struts, drive a bit and see how they feel, and then either go get it aligned, or swap the OE springs back in on the front.
Small update. Front struts and mounts arrived yesterday and today. Still waiting on my spring compressors to arrive, then need to fit install into my work schedule since I’m back on duty now. Did a dry fit of the different pieces with the CX7 springs and realized they won’t work. The OE springs have a ~4.5” diameter end coil to mate up with the strut mount. The CX7 springs are a continuous ~6”+ diameter all the way up. The entire strut mount (minus the top plate) actually fits inside the spring! So I’ll be using the OE springs that come out of my car.
small lolz moment. Went to check when my spring compressors were being delivered and realized I never completed the purchase. So mid week at the earliest. Probably next weekend.
Adding on to my apparent brain atrophy from covid I realized I ordered two right struts instead of a left and a right. Sadly I realized this as I was installing the strut. Luckily I’d only gotten two of the top bolts in for alignment, and was jockeying the base of the strut into the knuckle. I hadn’t actually slid it in yet. Unluckily, I just had to pull it, remove the spring (again), and now I have to install the old strut in place, then do it all again once the replacement left side KYB comes in. Decided to take a break and have some lunch, then I’ll go make the car driveable. I’m unhappy because I don’t really want two mismatched struts on the car, but it will only be for a few days, and the car doesn’t need to drive very far before then. Also I’d just made an alignment appointment for this afternoon, and was looking forward to having the car all done today.
Notes on the strut replacements on the ‘12 5. The bolts on the strut towers are semi-annoying. On the passenger side one of them is pressed against the firewall and can only be loosened with a crescent wrench. Sadly I started it out with a ratcheting crescent, and after a few turns the wrench was pressed against the firewall and it took me a few minutes to work it loose. So now I know to only use the open end of the wrench, lol. On the driver side the brake reservoir is atop the strut tower. You have to remove two bolts to get the reservoir off, then two more bolts to remove the reservoir bracket before getting to the strut bolts. It isn’t as tight as the passenger side, but you still can’t use a socket for one of the bolts.
All told the first side took me about an hour and a half because it was my first one and I was taking things nice and slow. I was on track for having the other side finished in just under an hour when reality stepped in. Oh well, a learning experience.
Its ok to drive with only one strut replaced as basically long as the old one is not leaking fluid.
Guess I don't have to "preach" always compare or check your parts as soon as you get them.
Nice follow up letting us all know how your suspension service adventure is going!
Any press is good press, right?
As it turned out I had a pair of struts from my sister�s �08 5 sitting around already assembled. This is important because I somehow bent the bracket that goes into the pinch joint on the OE strut I pulled off. Not sure how because I didn�t on the passenger side. I�d gotten them for her (cheap brand at close out because she was broke) and they continually clunked and made noise. Her mechanic tried disassembling/reassembling them, Swapping in other aftermarket ones, and finally pulled a set of OE ones from another 1st gen 5 he had on his lot. Those were the only ones which didn�t make noise. I think I know why they do though. Both the OE strut, and the KYB were super tight going into and out of the knuckle and required some jiggiling, pushing, pulling, and some light taps with a mallet with the jack under the ball joint. This one slid right on by hand with no effort whatsoever. So I�m pretty sure it�s just a little small. Hard to tell with just me in the car, but the KYB in the passenger side doesn�t seem to making any noise.
Also just for funsies my ABS and traction control lights came on when I took it for a test drive. I did not unplug the sensor wiring form the sensor while I did the strut, but I was pretty careful to Unhook the wiring from the mounts, and not stress the wires out. Snaking a camera in with the wheels on the sensors themselves are intact, so I guess I�ll have to pull the wheels and check continuity on the wiring/plugs. Mission creep FTL.