
Brian MP5T


Thread Starter
|
Senior Member
Joined: Jul 2009
Posts: 156
Likes: 0

Banned
Joined: Dec 2011
Posts: 2,633
Likes: 0
From: Canada
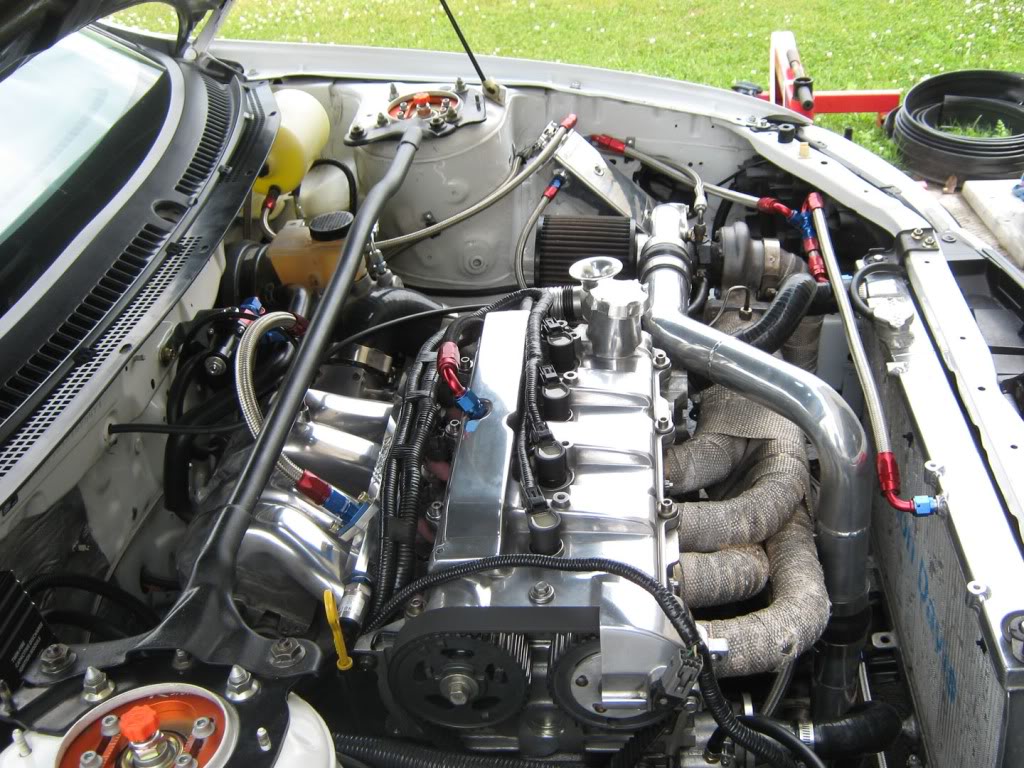
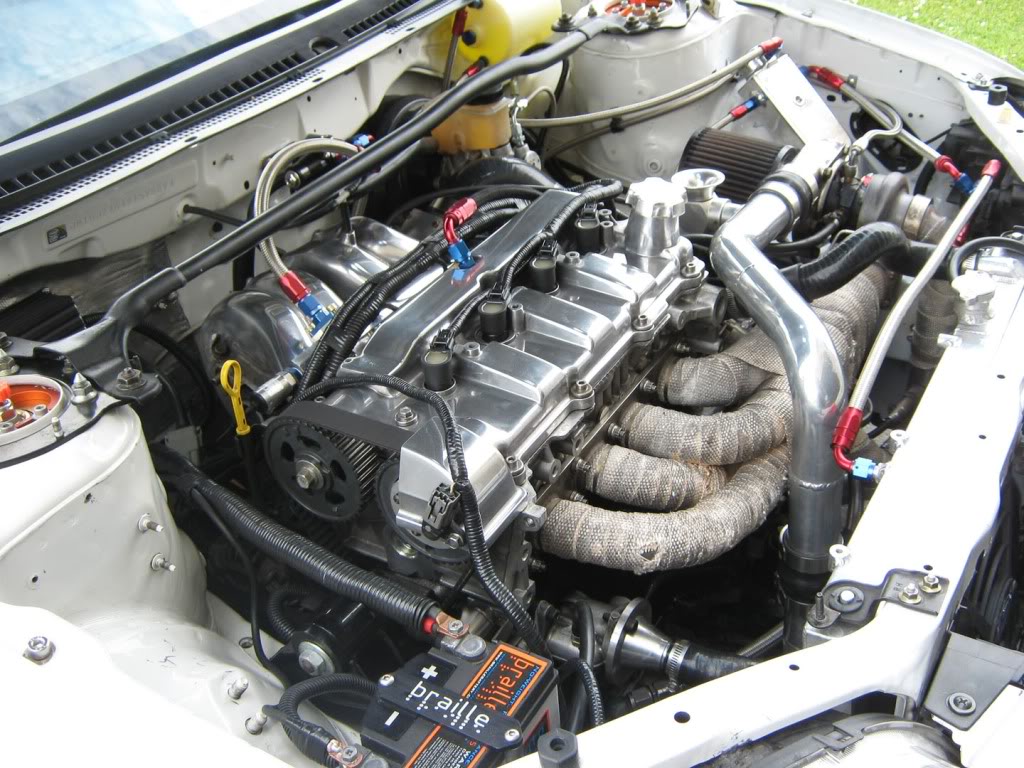
Some pics lost here and all on post # 50 (which is probably why you put your WEB SITE LINK ON PREVIOUS POST #54. I'll bet that exhaust wrap keeps the under hood temperature under control. I would seriously consider wrapping the intake right behind the rad as well. Awesome.


Last edited by UseYourNoggin; Feb 23, 2012 at 09:12 AM.
Thread Starter
|
Senior Member
Joined: Jul 2009
Posts: 156
Likes: 0
Today, as unimpressive as it sounds, I took the Castle Nut off each drive shaft and removed them. I had tried in the past with an impact, however they were the OEM drive shafts so they were "Really On". I used a 1 1/4 HP grinder to literally cut the nut and used a pry bar to split the nut. The rest is history.
I am working on getting the dash out so that I can do a proper job of mounting all the stuff to the firewall. I am also going to get the engine bay ready for paint.

I am working on getting the dash out so that I can do a proper job of mounting all the stuff to the firewall. I am also going to get the engine bay ready for paint.


Thread Starter
|
Senior Member
Joined: Jul 2009
Posts: 156
Likes: 0
Getting the car ready to be moved for a pro repaint, I have decided to not do it myself... I will make it look like ****..
Media Blast, Factory White and then a set of Clear Coat... Technically, I will be able to wax the engine bay like the outside.
Dash is out to redo the wires properly.
Calipers off so I could put the **** rims off of the winter beater on the P5 so it could be transported.


Media Blast, Factory White and then a set of Clear Coat... Technically, I will be able to wax the engine bay like the outside.
Dash is out to redo the wires properly.
Calipers off so I could put the **** rims off of the winter beater on the P5 so it could be transported.

