My Mazda 3 LEDs!!
#11
 11-18-2009, 04:28 AM


Yes, you can do it that way, or if in doubt, use the picture icon  @ the top of any text box.
That does seem like a long time. But then again, it took me 4.5hrs to wire in both sets of the HIDs I'm running.
I'm guessing that if he used my suggestion they are on w/the ignition and have a timed off after the ignition is turned off.
@ the top of any text box.I'm guessing that if he used my suggestion they are on w/the ignition and have a timed off after the ignition is turned off.
#12
11-18-2009, 05:07 AM

How do you wire that "Timed-Off". Is it an option that comes with your lights on a certain package?
I just have the base "s" model and am not acustomed to such luxuries. LOL
I just have the base "s" model and am not acustomed to such luxuries. LOL
#13
11-18-2009, 07:53 AM

Thanks Tracker 
Well we wanted the lights and the wiring to look as "professional" as we could. So if you look in the engine bay it still looks pretty.
And yes, they turn on with the ignition and stay on for a little bit after I turn off my car. That part I wasn't expecting, but its cool!
Well we wanted the lights and the wiring to look as "professional" as we could. So if you look in the engine bay it still looks pretty.
And yes, they turn on with the ignition and stay on for a little bit after I turn off my car. That part I wasn't expecting, but its cool!
#14
11-18-2009, 08:17 AM
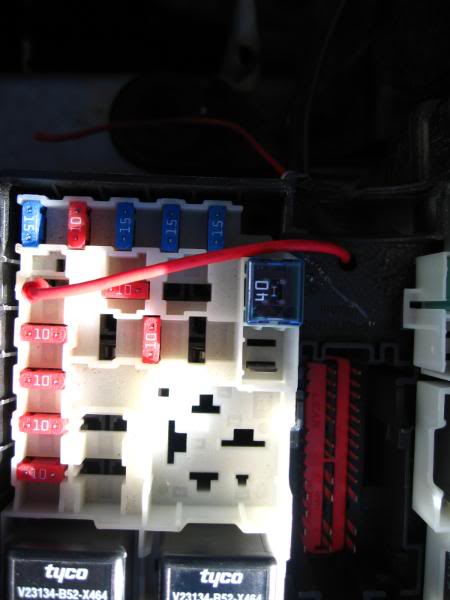
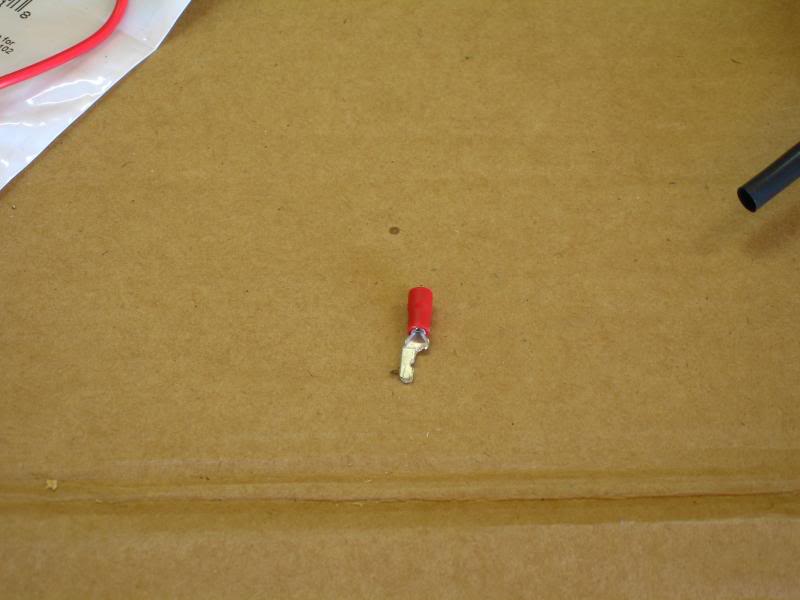
In order to tap into it though, you have to either have a thin connector or modify one like I have here....
When I did mine, I was not expecting this either, but it is cool. The time they stay on seem to be related to the mileage driven.
re: If I drive from "my" gas station to work, about 4.5 miles, they will only stay on a few seconds... maybe 10-15 secs. If I drive all the way from home to work w/o stopping, about 16.5 miles, they will stay on for well over a minute!!
I don't know what this power tap was originally intended for, but I'm glad to have found it.
Last edited by virgin1; 11-18-2009 at 08:20 AM.

#16
11-18-2009, 10:11 AM
Most LEDs for automotive use are 5v rated. By grouping them in threes or even fours (series) and then any additional LED groups (3, 6, 9, etc.) in parallel you can run them directly from the battery or charging system.
#17
11-18-2009, 06:00 PM
Most LEDs also have a step-down resistor built into them. Bringing them down to the 12v your battery puts out.
#18
11-18-2009, 06:50 PM
Raw LEDs like the ones you'd buy at an electronics store?
Not form my experience. In fact I have burned up quite a few trying to figure out the best way to power them.
Now pre-manufactured LED bulbs, that would be another story, imo.
#19
11-19-2009, 12:05 AM

This was a fun project; it was my pleasure to work with Alan on this cool mod. The true time spent working on the LEDs and the car was significantly less than Alan stated since we were sourcing supplies and talking about how to accomplish the different tasks.
The process obviously started with disassembly of the underbody tray, attachments and fender liners. Next removal of the entire fog light assembly which turned out to be as simple as a couple of screws and then pressing tabs back to allow us to push the assembly out. Following that we disassembled the fog light from the plastic surround.
Next we marked up the holes for the LEDs on the back side of the channel. Alan decided on 7 LEDs per side so as to keep the spacing tasteful and similar to the Audi which we know looks good. That made for a 28mm spacing which we carefully marked out, pilot drilled and then final drilled the 3/8" holes. The LEDs are a good interference fit in the hole and were secured with epoxy resin.
The pigtails from the LEDs were carefully grouped up, sleeved and soldered together in parallel. Just to set the record straight, Alan sourced his LEDs from here: http://www.oznium.com/prewired-superflux They are built on a chip with an inline resistor to make them 12V ready.
We sourced the ignition switched signal from the aforementioned pin in the fuse box to trip a relay. The relay switches power directly from the battery through an inline fuse and out to either fog light LED assembly. Grounds were gathered together at one of the two existing ground points below the fuse box.
Re-assemble and voila, a very cool look! Nice work Alan. (Maybe Alan would be so nice as to post a couple of the detail pictures from install)
Cheers,
Mark
#20
11-19-2009, 07:42 PM
I'm thinking, now that I wired mine through that fuse spot, that it ties somehow to the onboard computer. You can hear the relay kick of when the power does. Just a guess.
But what I really want is for them to come on when I unlock the car.
But what I really want is for them to come on when I unlock the car.
Last edited by apbbnbanb_07; 11-19-2009 at 08:16 PM.