
Small rear bumper "fix"


Thread Starter
|
Senior Member
Joined: Mar 2007
Posts: 1,159
Likes: 2
From: Arizona
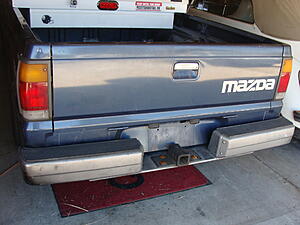
Somehow the rear rear bumper on my '88 B2200 got into a disagreement and ended up with this. The left bumper cap was practically touching the truck body.

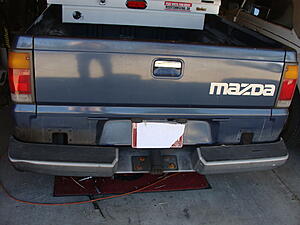
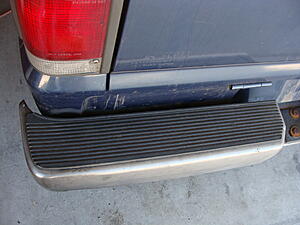
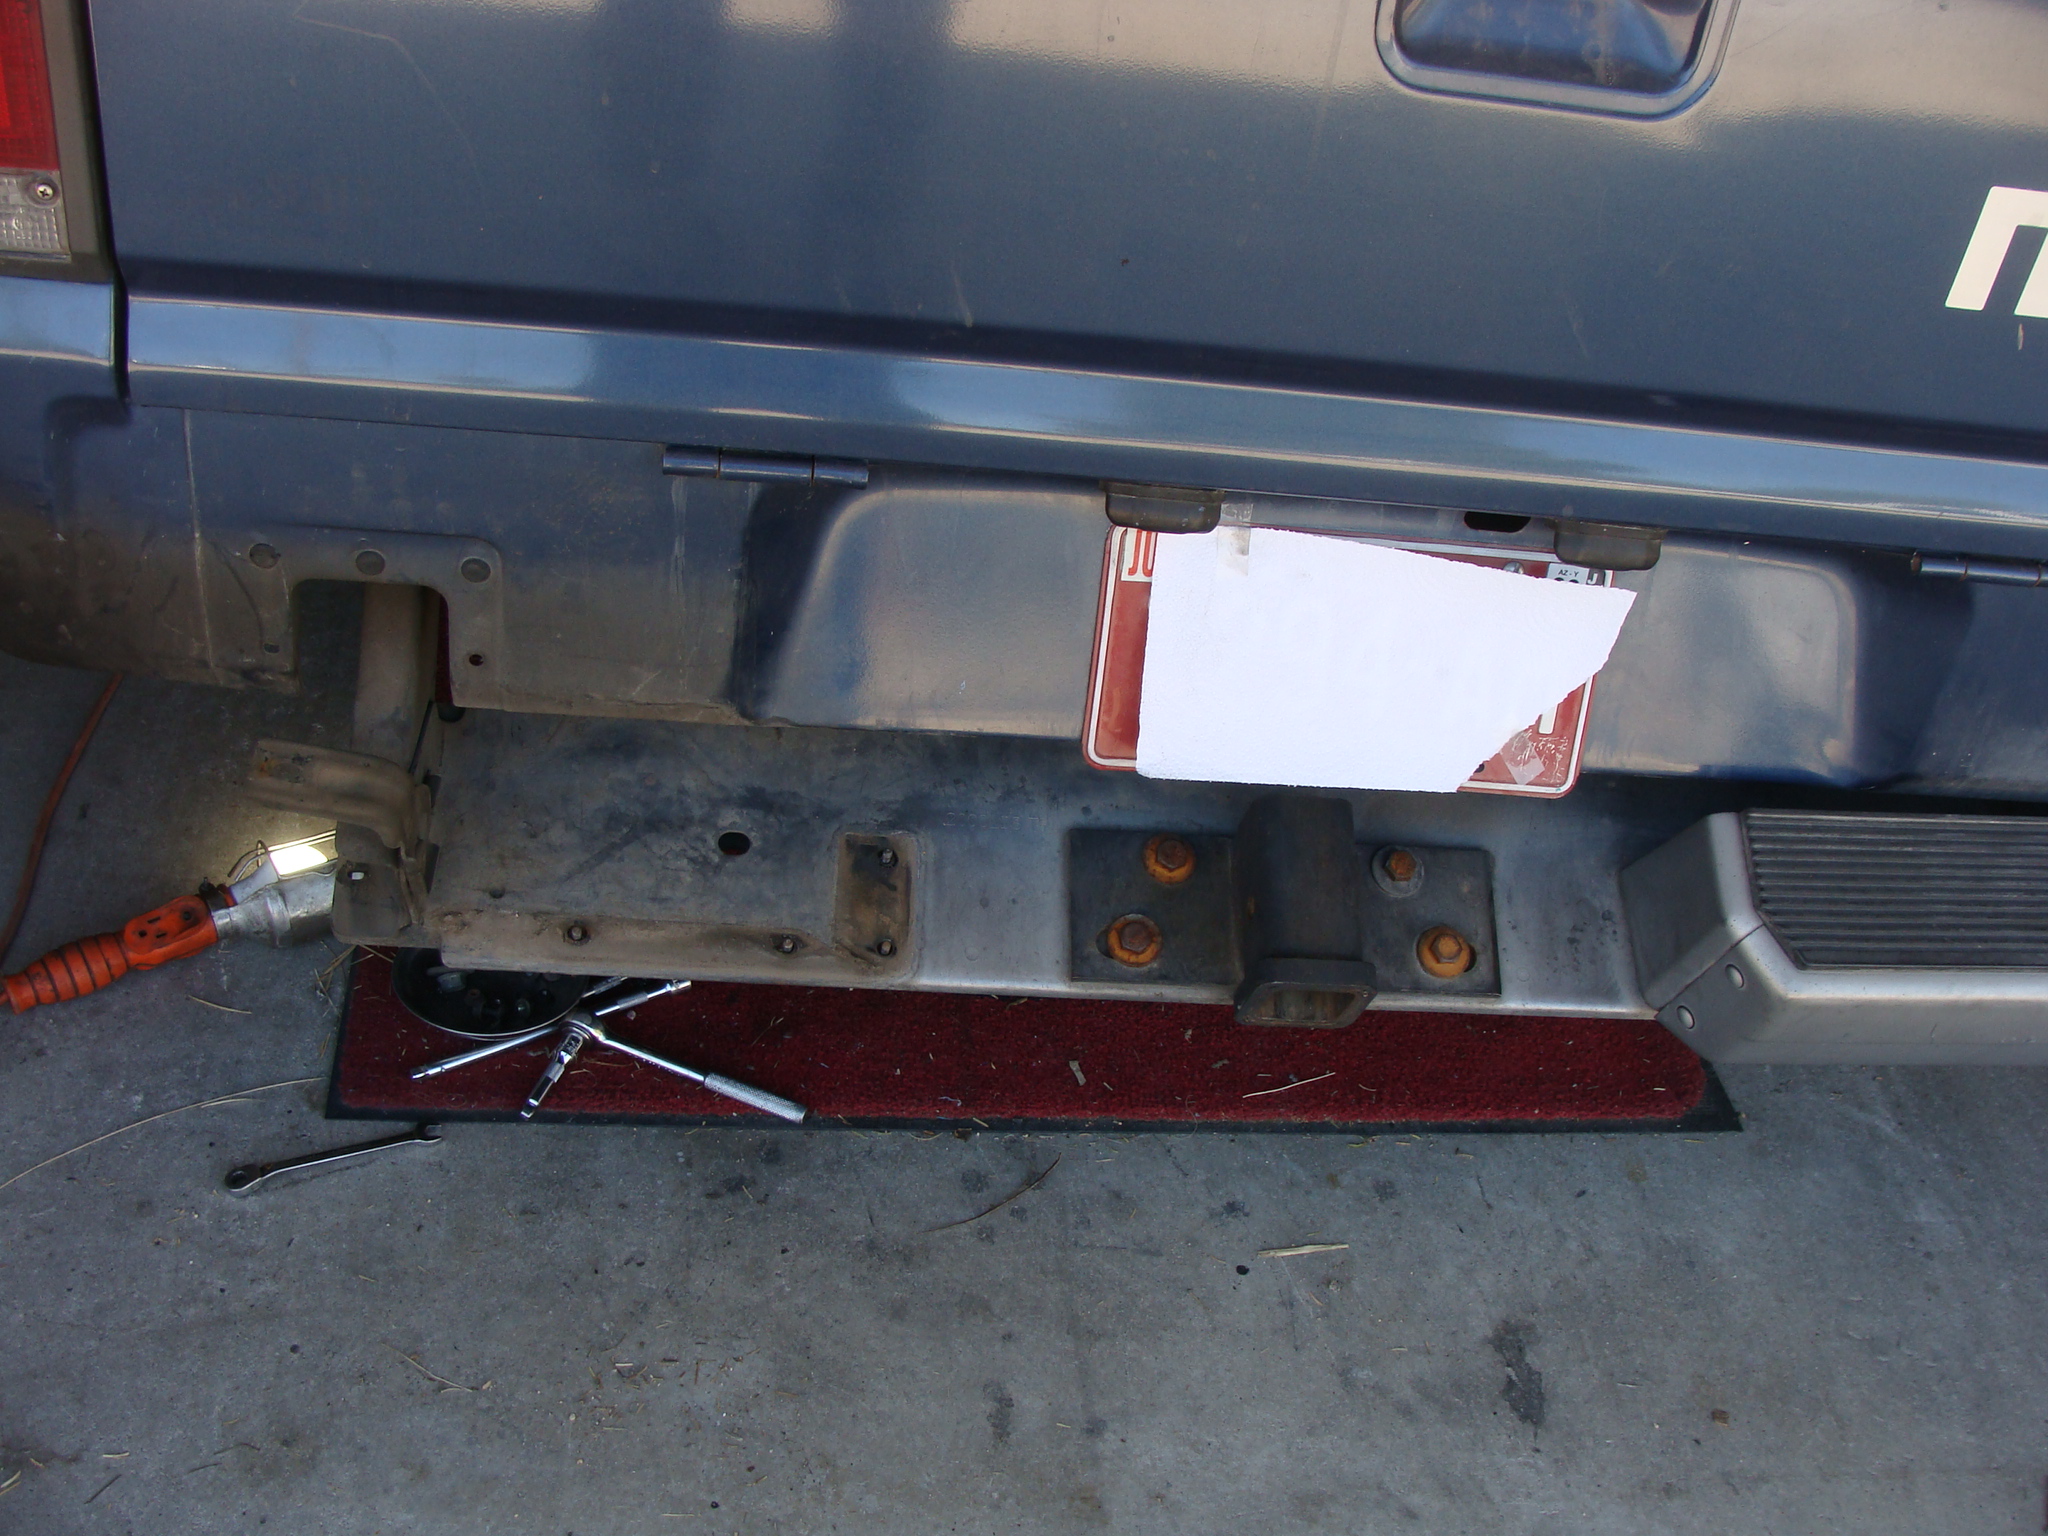
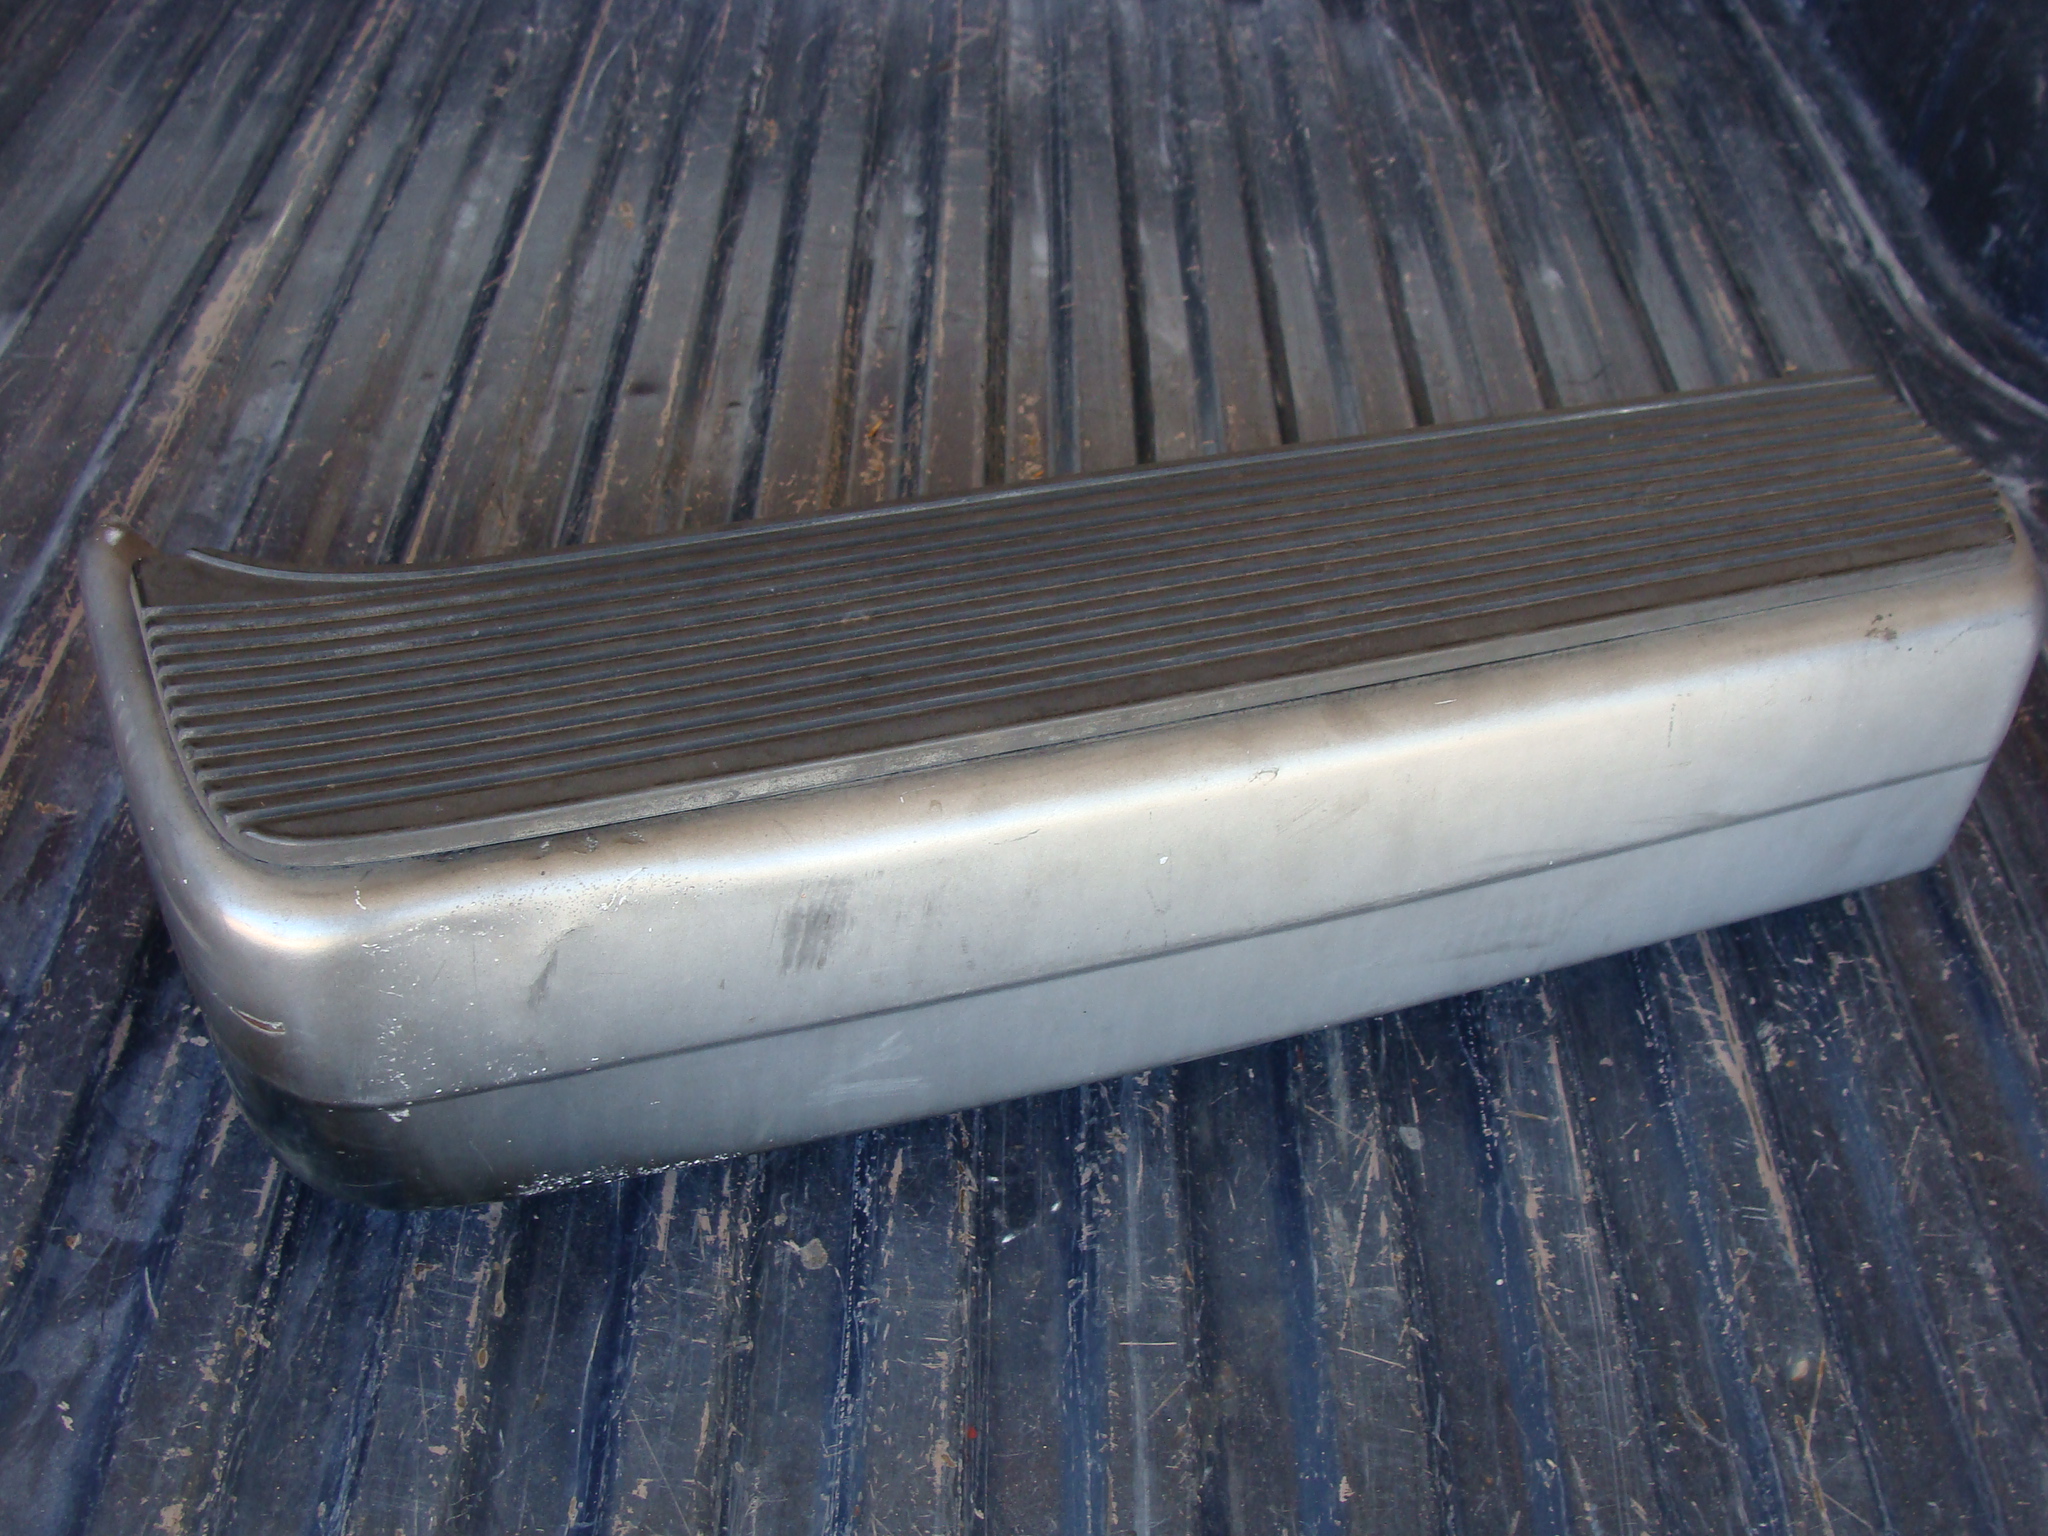
I'd been hit maybe 15 years ago and removed the right bumper cap and pounded that pretty straight, so thought I'd try similar with this left side. I saw in the service manual about taking off a bunch of stuff to get the bumper cap even off, didn't want to do all that. So I used Mr. 17mm socket and removed the front big bumper bolt on each side, and loosened the rear-most bolt on each side. Then I was able to rotate the entire bumper downward to get access to all the little 6mm nuts using 1/4" drive 10mm socket and/or 10mm ratcheting box wrench and remove the bumper cap, then I removed the top plastic step/insert.

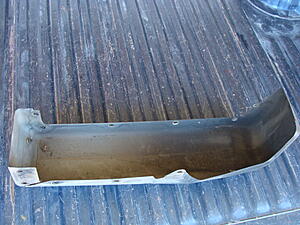
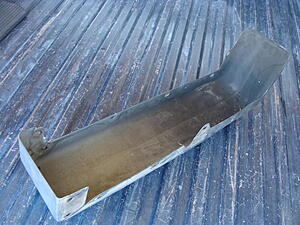
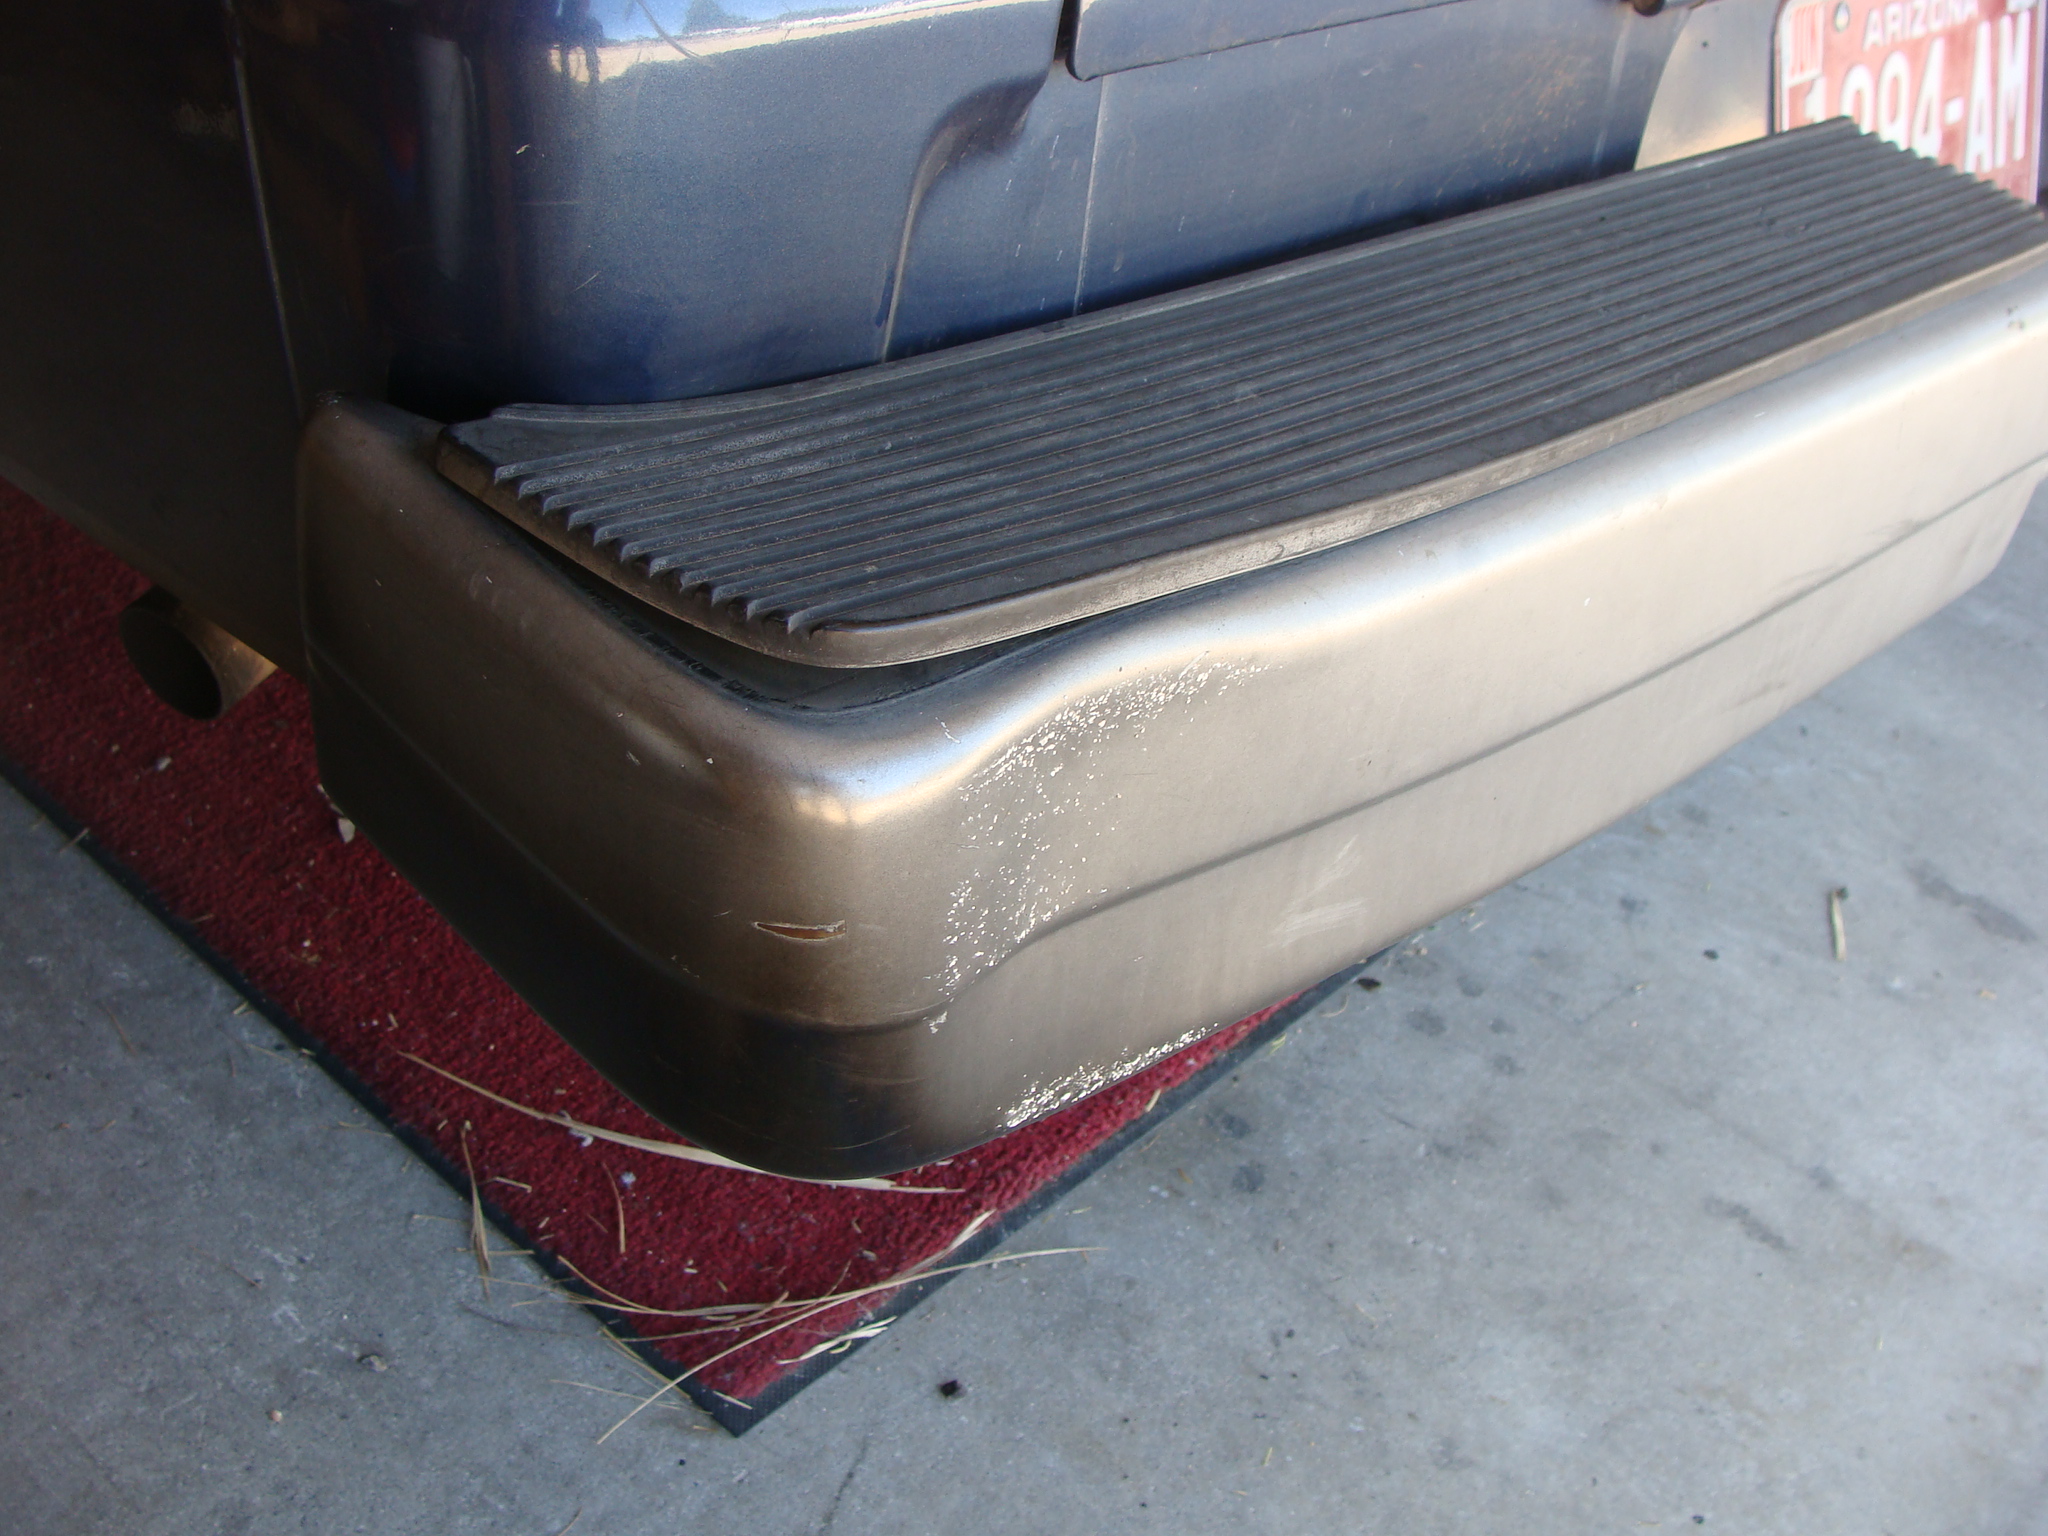
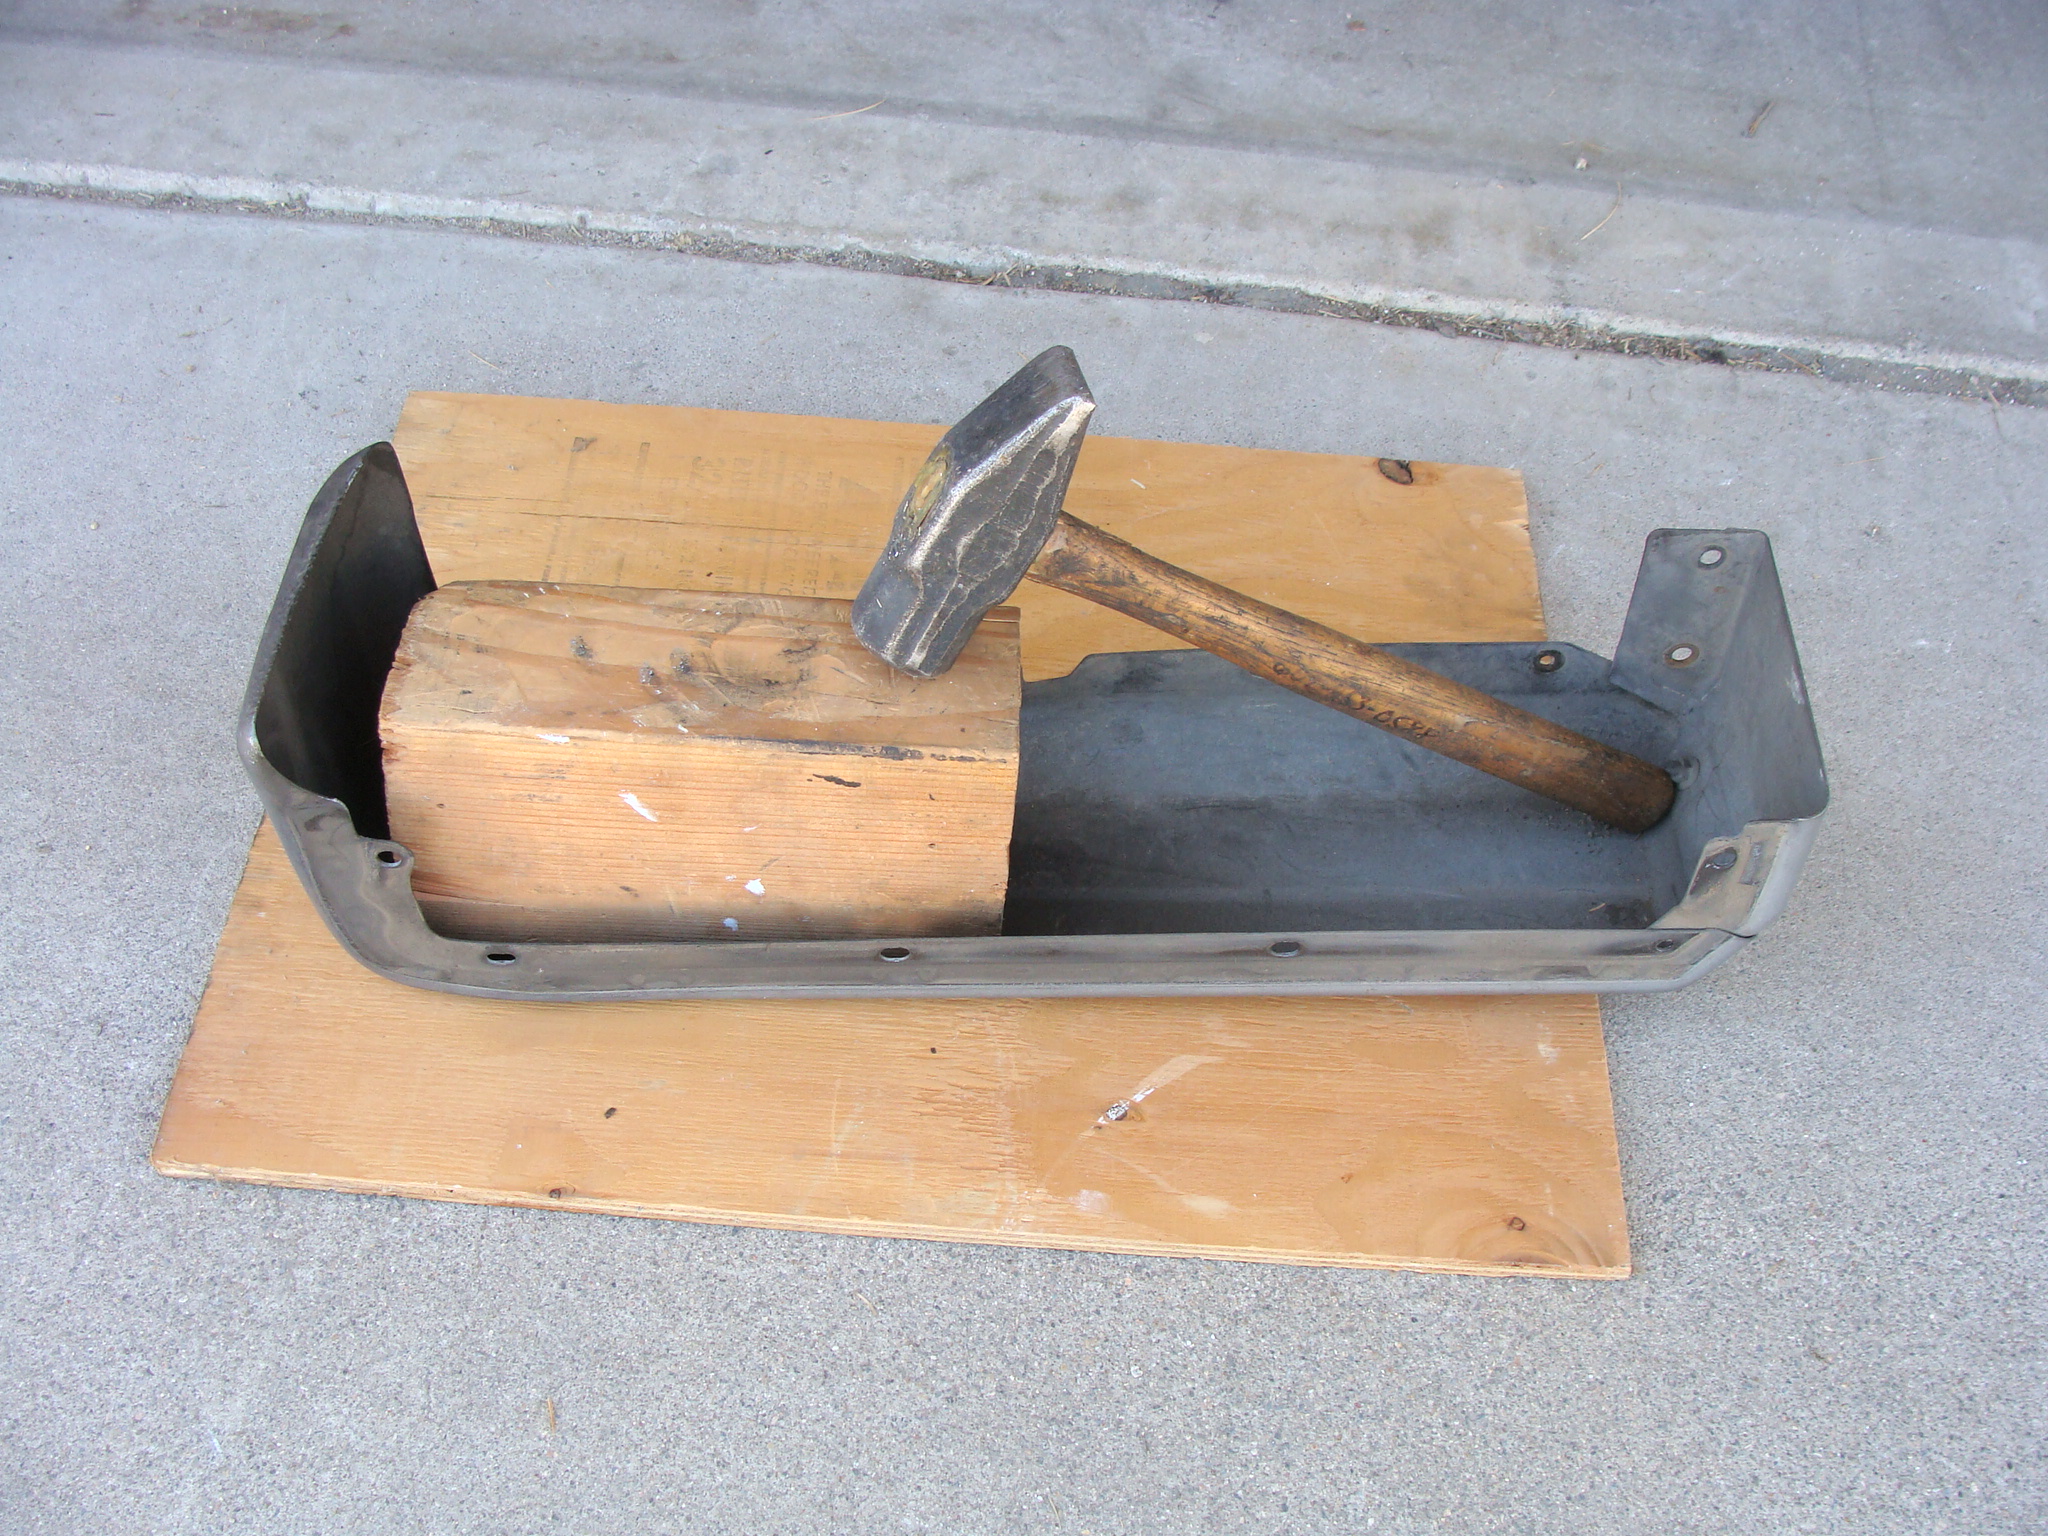
I used sophisticated tools to convince the bumper cap to decide to return to its original shape.


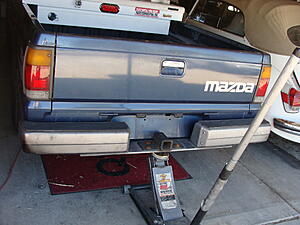
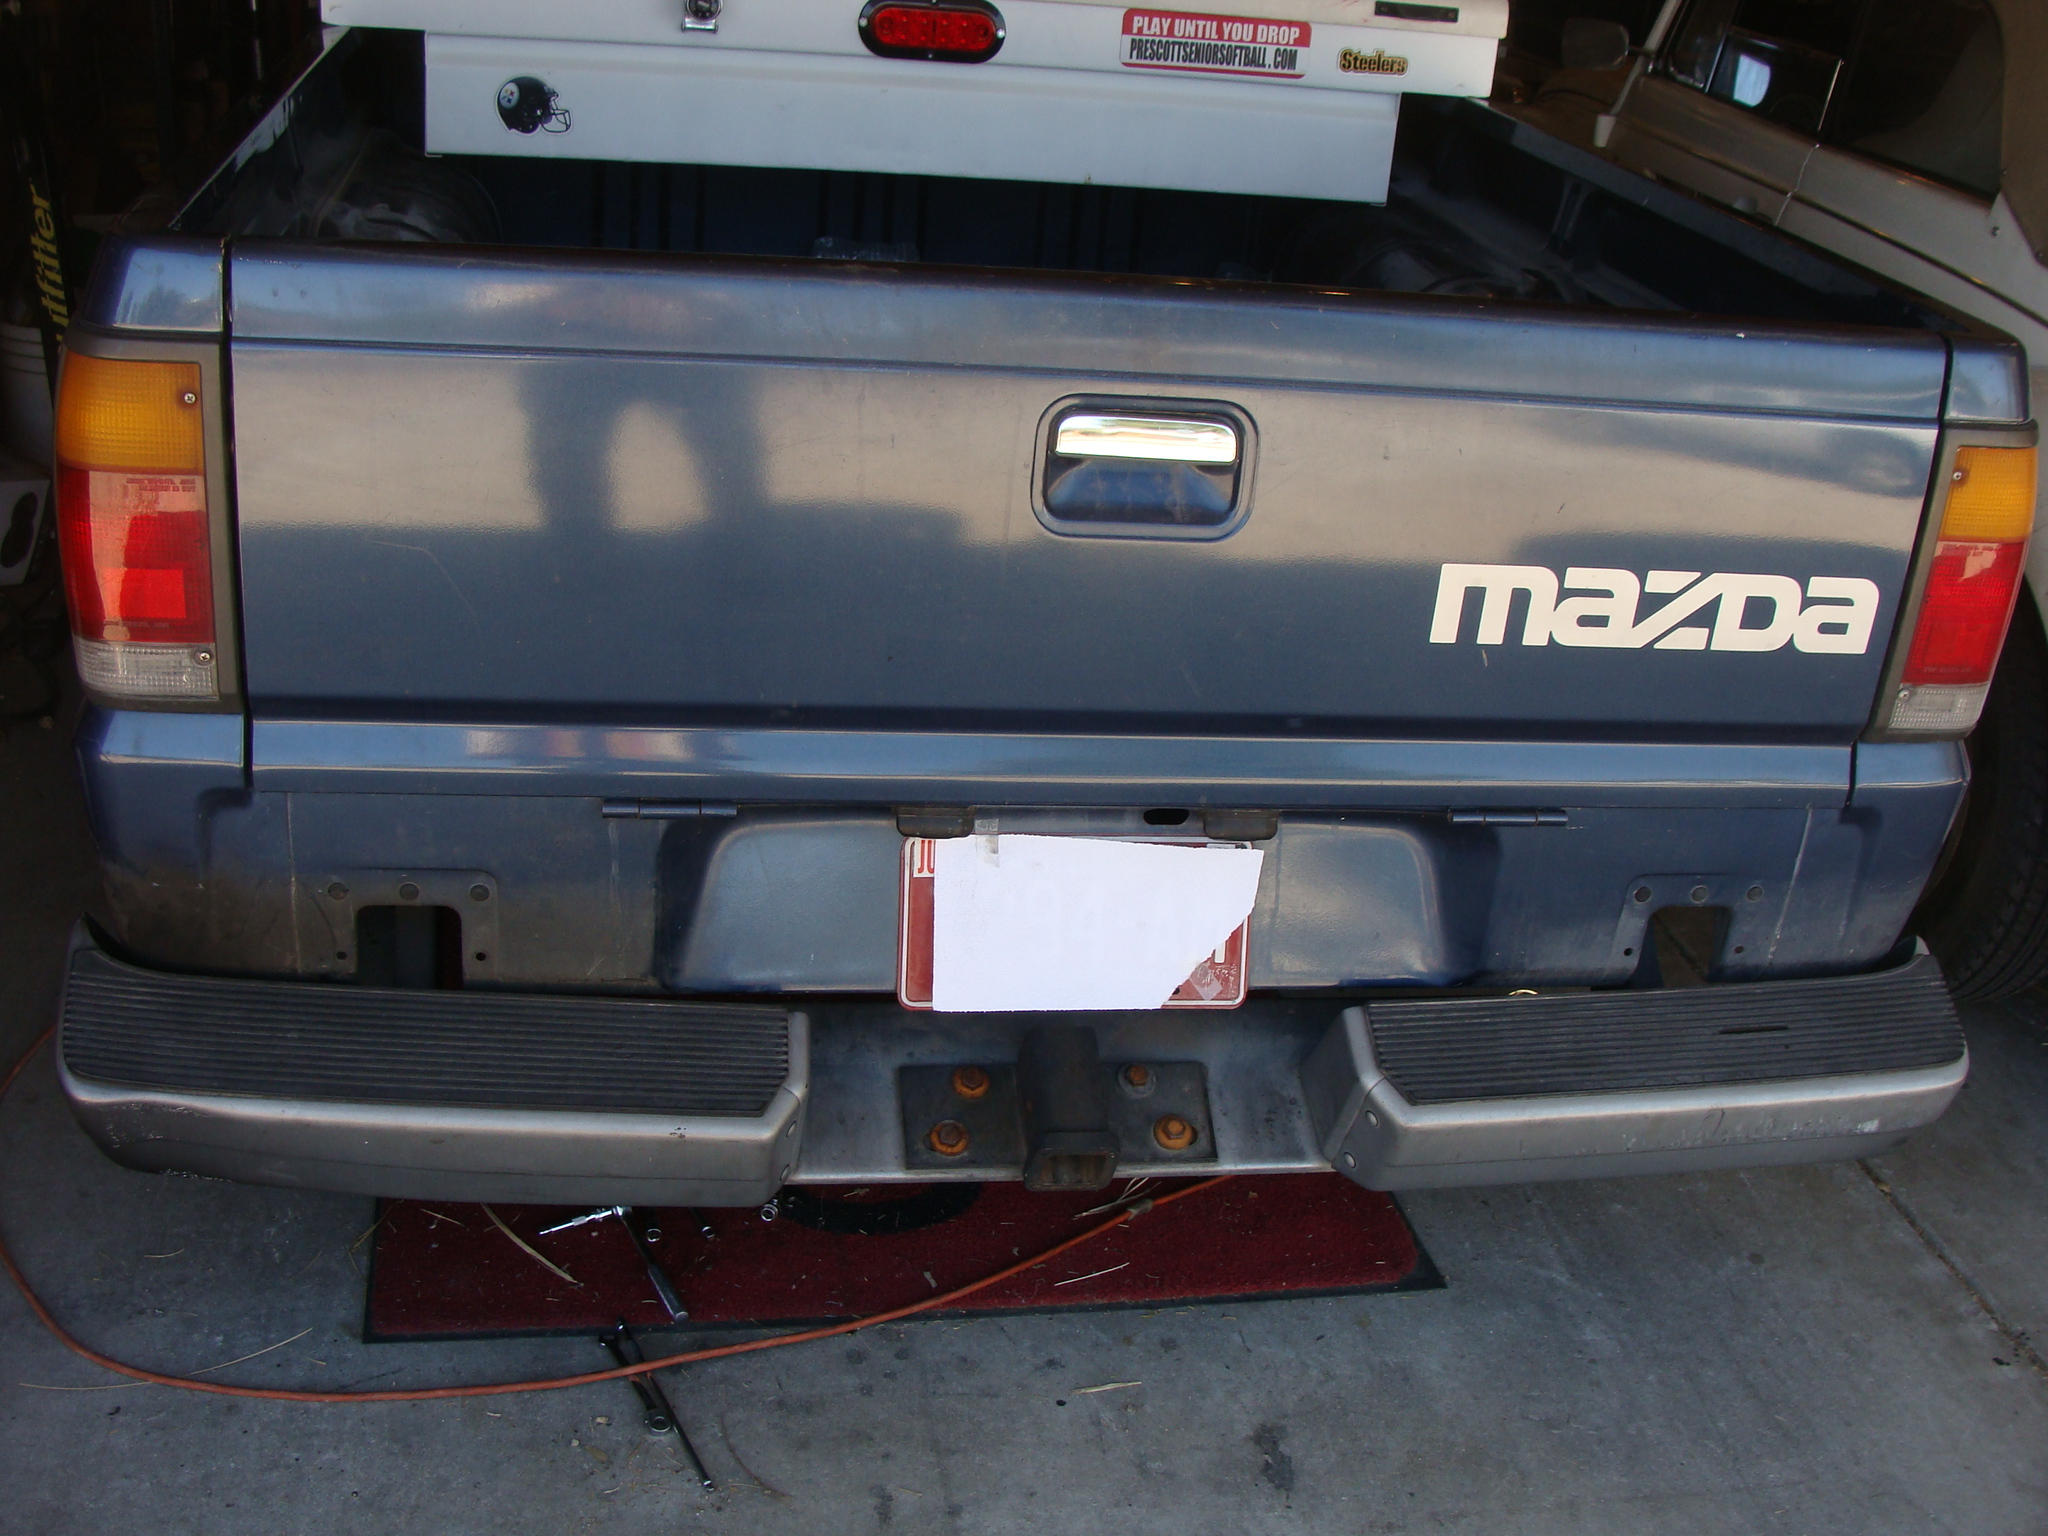
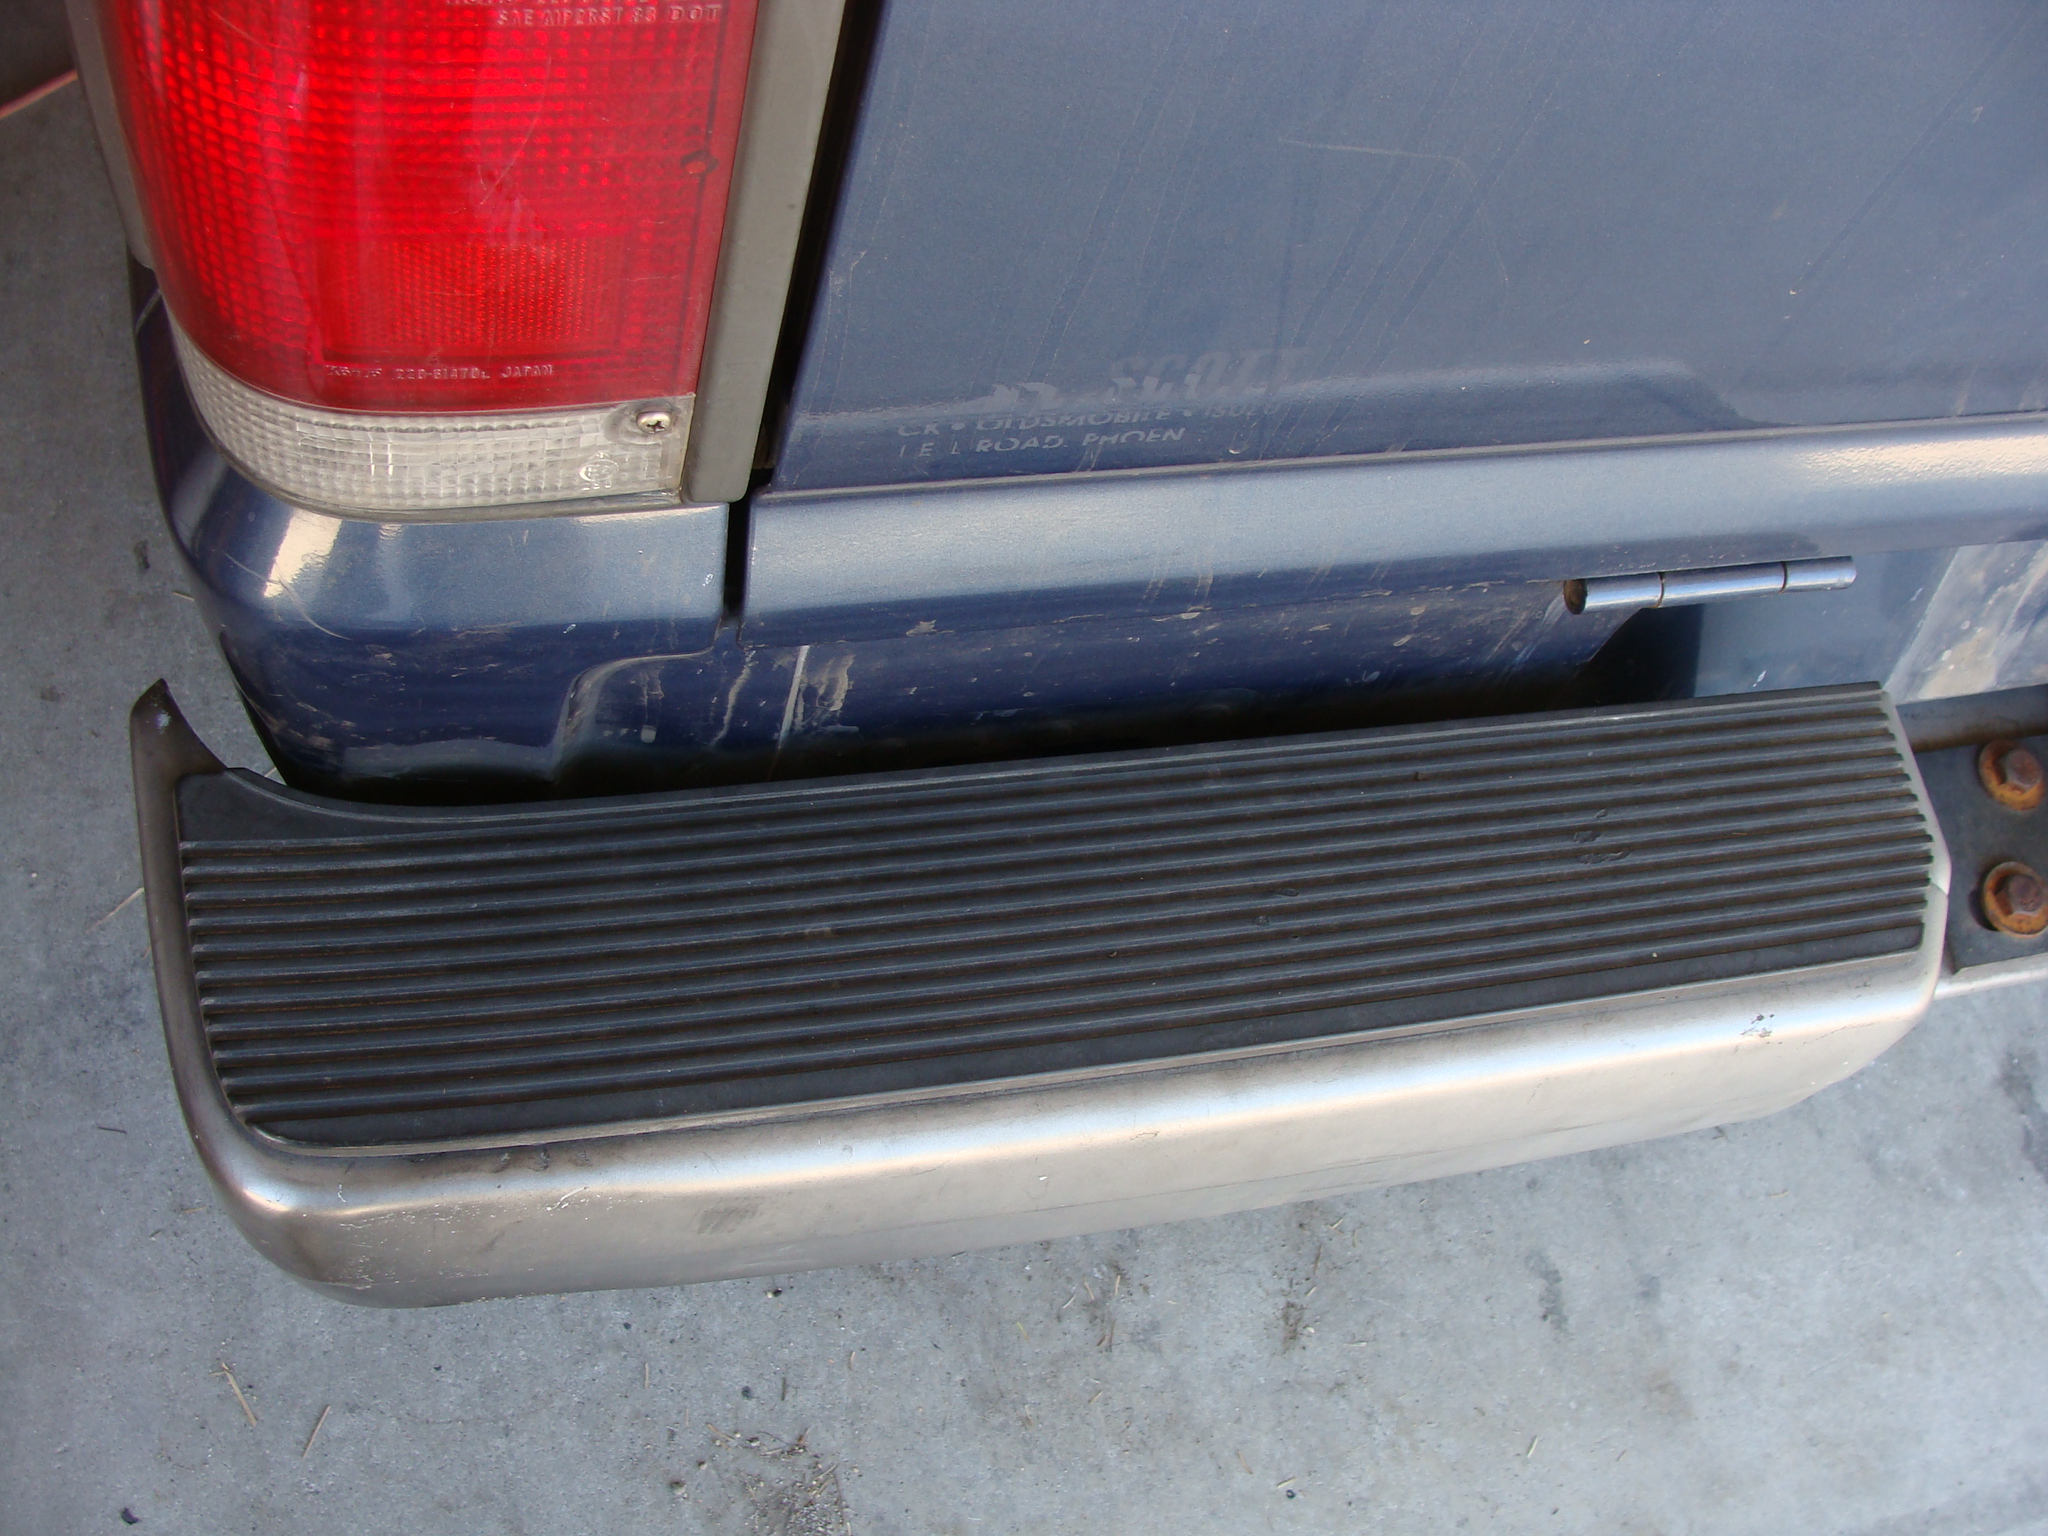
After bolting the cap back into position, Mr. Floor Jack was helpful in raising the entire assembly into position for me to get the big bolts threaded in a few full turns, then these were tightened securely using Mr. 17mm socket.
All done, no supplies needed to be purchased.
I'd been hit maybe 15 years ago and removed the right bumper cap and pounded that pretty straight, so thought I'd try similar with this left side. I saw in the service manual about taking off a bunch of stuff to get the bumper cap even off, didn't want to do all that. So I used Mr. 17mm socket and removed the front big bumper bolt on each side, and loosened the rear-most bolt on each side. Then I was able to rotate the entire bumper downward to get access to all the little 6mm nuts using 1/4" drive 10mm socket and/or 10mm ratcheting box wrench and remove the bumper cap, then I removed the top plastic step/insert.

I used sophisticated tools to convince the bumper cap to decide to return to its original shape.

After bolting the cap back into position, Mr. Floor Jack was helpful in raising the entire assembly into position for me to get the big bolts threaded in a few full turns, then these were tightened securely using Mr. 17mm socket.


All done, no supplies needed to be purchased.
Last edited by Cusser; Mar 28, 2021 at 03:49 PM.
Thread Starter
|
Senior Member
Joined: Mar 2007
Posts: 1,159
Likes: 2
From: Arizona
And actually, there are slots on the brackets on each side, where the large bolts go in (the forward one is actually an open slot); so there is adjustment available if needed.

Senior Member
Joined: Aug 2020
Posts: 201
Likes: 0
From: Minneapolis, MN
I have the Fey/Westin aftermarket brackets, and there is no adjustment with those.

Thread
Thread Starter
Forum
Replies
Last Post